
In fact, press on nails have come a long way from the one-size-fits-all plastic tips of the past. Today, they are one of the fastest-growing segments in beauty. They offer salon-quality manicures in minutes, at home, for a fraction of the price. Moreover, modern press on nails come in hundreds of designs, shapes, and finishes — from minimalist nudes to intricate 3D art.
In this complete guide, you will learn everything about press on nails: the different types, how to choose your size and shape, and a step-by-step application tutorial. You will also learn how long they last and how to remove them without damaging your natural nails. In addition, you will find design inspiration, honest comparisons with acrylic and gel, and pro tips for making them last.
Finally, whether you are a complete beginner or switching from salon manicures, this guide has you covered. So let’s dive in.
What Are Press On Nails?
Press on nails are pre-shaped artificial nail tips that attach to your natural nails with adhesive — either pre-glued sticky tabs or brush-on nail glue. Unlike acrylic or gel, they require no curing lamps, no drills, and no salon appointment. As a result, you can achieve a polished manicure in under 15 minutes at your kitchen table.
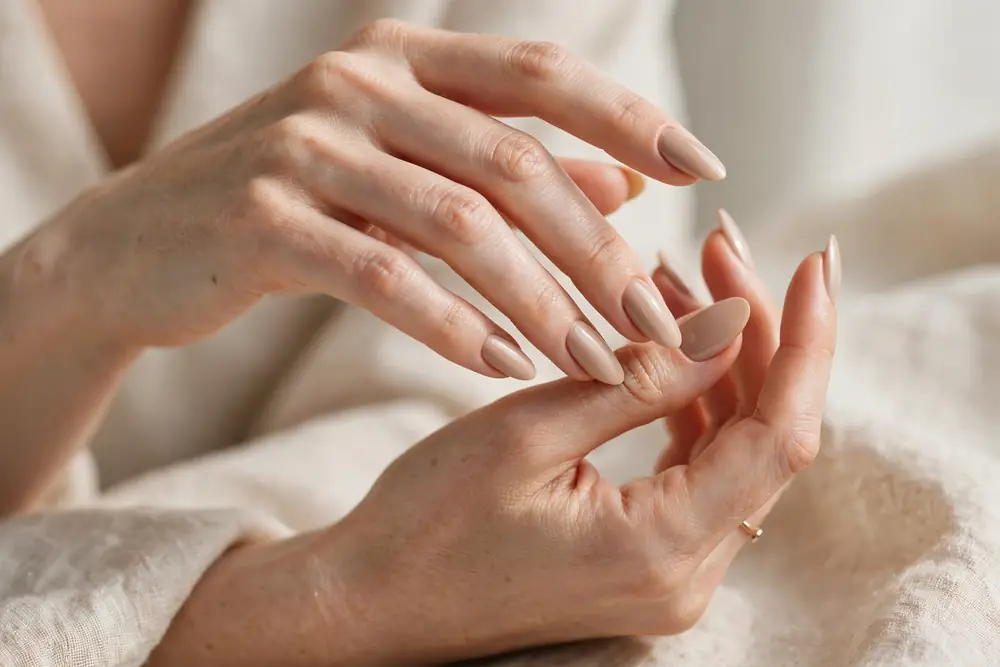
Modern press on nails are typically made from ABS plastic or soft gel, and the best ones are surprisingly durable. For example, high-quality sets can last up to two weeks with proper application. They come in full-cover styles that fit over the entire nail and are available in every popular shape: almond, coffin, stiletto, square, and oval.
One of the biggest advantages of press on nails is flexibility. You can wear them for a special event and remove them the same evening, or keep a set on for two weeks straight. Moreover, they are reusable — with gentle removal, a good set can be worn three to five times. This makes them both budget-friendly and low-commitment.
Types of Press On Nails
Not all press on nails are created equal. The type you choose affects how long they last, how natural they look, and how easy they are to apply. Here are the three main types.
Pre-Glued Adhesive Tab Press Ons
These sets come with sticky adhesive tabs already attached or included separately. Instead, you simply peel, stick, and press — no glue, no mess, no drying time. Therefore, they are the easiest option for beginners or anyone in a hurry.
However, adhesive tabs are the least durable option. Specifically, they typically last one to three days, making them perfect for a weekend event, a photoshoot, or trying out a length before committing. In addition, they are the gentlest on natural nails since removal is as simple as peeling them off after soaking in warm water.
Brush-On Glue Press Ons
This is the most popular type of press on nails. For example, the kit includes nail tips plus a small bottle of brush-on adhesive. You apply a thin layer of glue to your natural nail — and optionally to the tip itself — then press each tip on firmly for 20 to 30 seconds.
Glue-on press ons last much longer than tabs: typically seven to fourteen days with proper prep. Moreover, the bond is strong enough for everyday activities like typing, cooking, and light housework. However, removal requires more care (see the removal section below) to avoid damaging your natural nails.
Custom and Salon-Fit Press Ons
At the premium end, some brands offer custom-fit press on nails made from a mold or sizing kit of your exact nail beds. These cost more but look remarkably natural because the fit is precise.
Similarly, many salons now offer soft gel press on services, where gel tips are applied with gel adhesive and cured under a lamp. These blur the line between press ons and salon extensions. As a result, they last two to three weeks — comparable to a full gel manicure — while still being removable at home.
How to Choose the Right Size and Shape
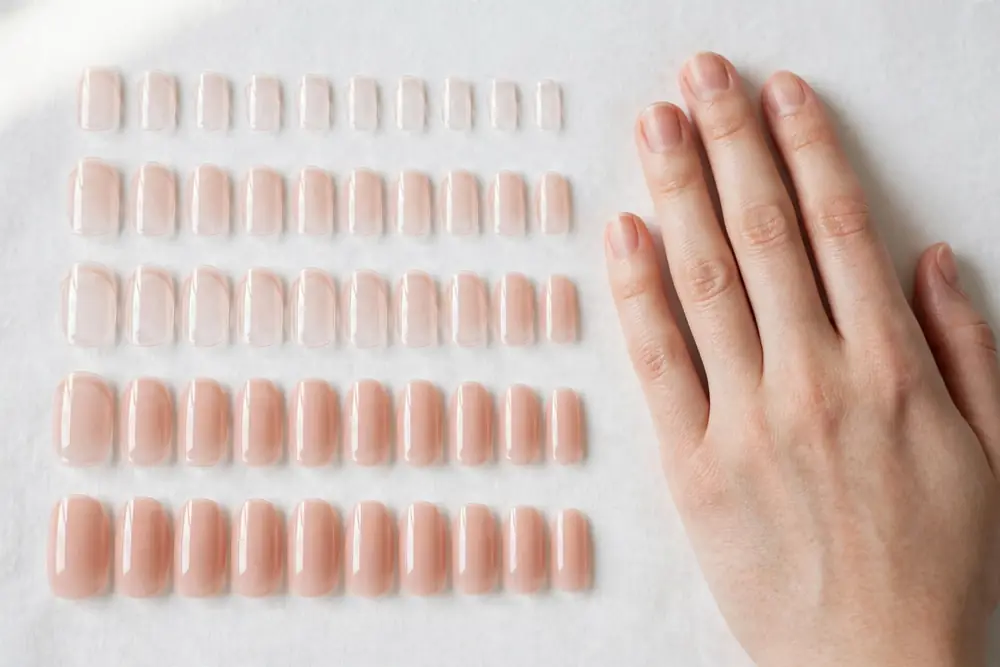
Specifically, fit is everything with press on nails. For example, a tip that is too wide will lift at the edges, while one that is too narrow looks unnatural and pops off easily. Fortunately, most kits include 24 to 30 tips in 10 to 12 sizes, so finding your match is straightforward.
Sizing Your Press On Nails
Before applying anything, lay out the tips and match one to each nail. The ideal tip covers your nail bed edge to edge without overlapping the skin. If you are between sizes, always choose the slightly larger one and file the sides gently for a custom fit.
A useful trick is to number the backs of your chosen tips 1 to 10 (thumb to pinky) with a marker before you start. This saves frantic searching once glue is involved. In addition, keep a couple of spare tips in nearby sizes within reach in case one does not sit right.
Best Shapes for Press Ons
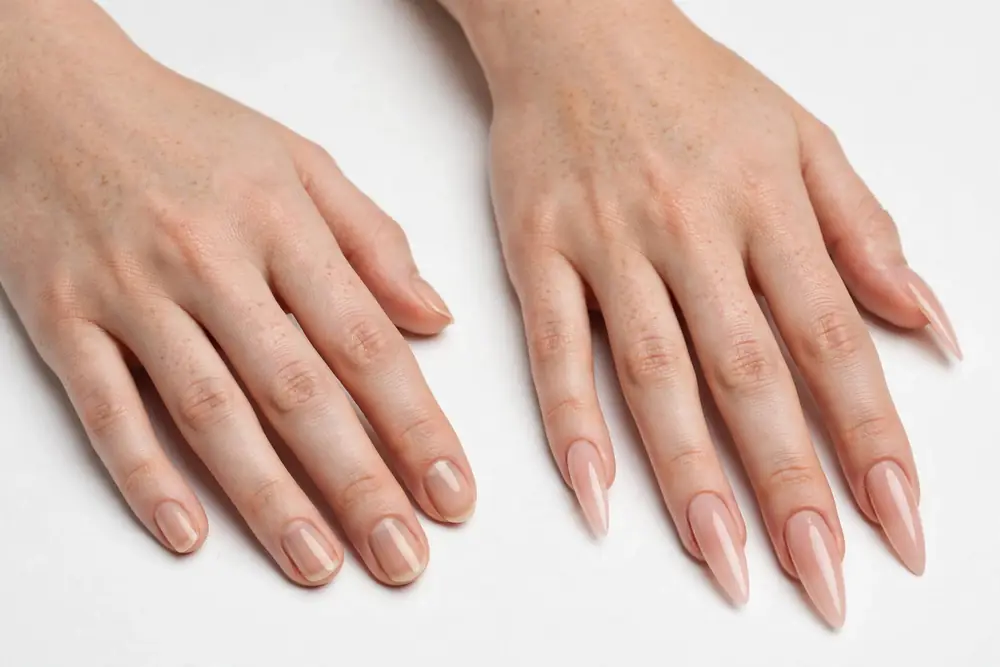
Almond and oval shapes are the most forgiving for beginners because they follow the natural curve of the nail and are less prone to catching on things. Coffin and stiletto shapes look dramatic but need precise sizing — otherwise the long free edge acts like a lever and pops the tip off.
For everyday wear, short to medium lengths in almond or squoval shapes offer the best balance of style and durability. Save the extra-long stilettos for special occasions when you can afford to be careful with your hands.
How to Apply Press On Nails: Step-by-Step
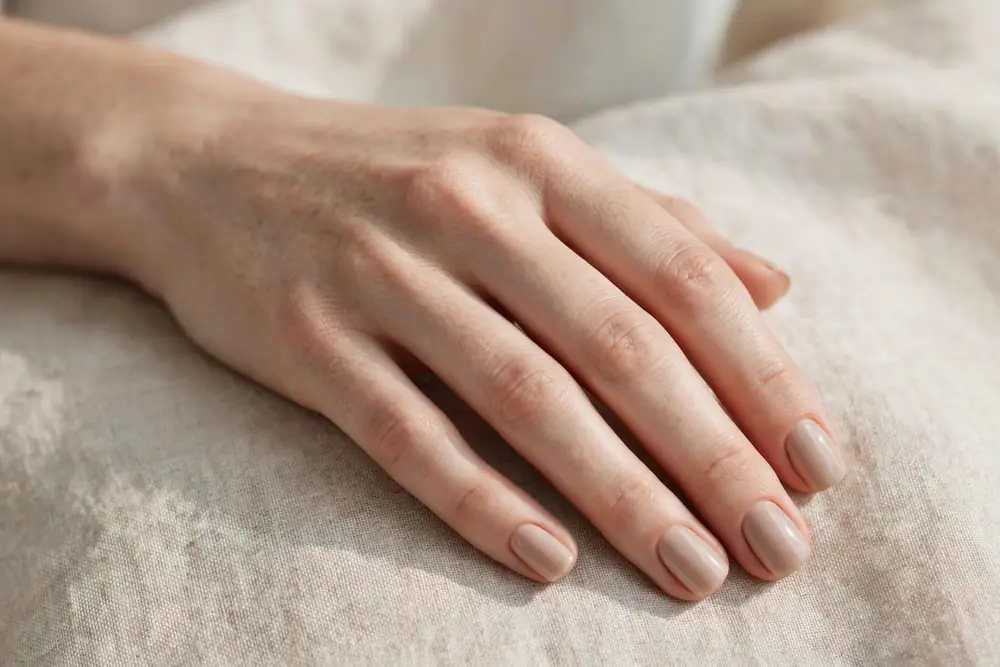
Proper application is the difference between press ons that last two days and ones that last two weeks. The secret is all in the prep — roughly 80 percent of longevity comes from what you do before the glue ever touches your nail.
What You Will Need
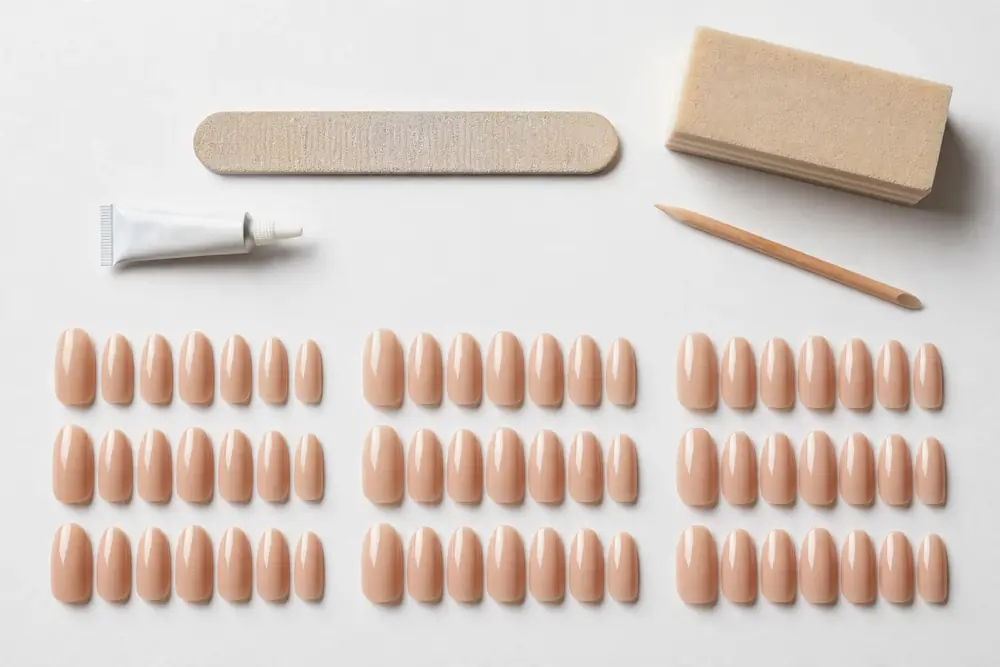
Most kits include tips, glue or tabs, a mini file, and a cuticle stick. However, a few extras make a big difference: a nail buffer, rubbing alcohol or nail dehydrator, and cuticle oil for afterward. If you want to build a proper kit from scratch, our nail tools guide covers every essential in detail.
Step-by-Step Application
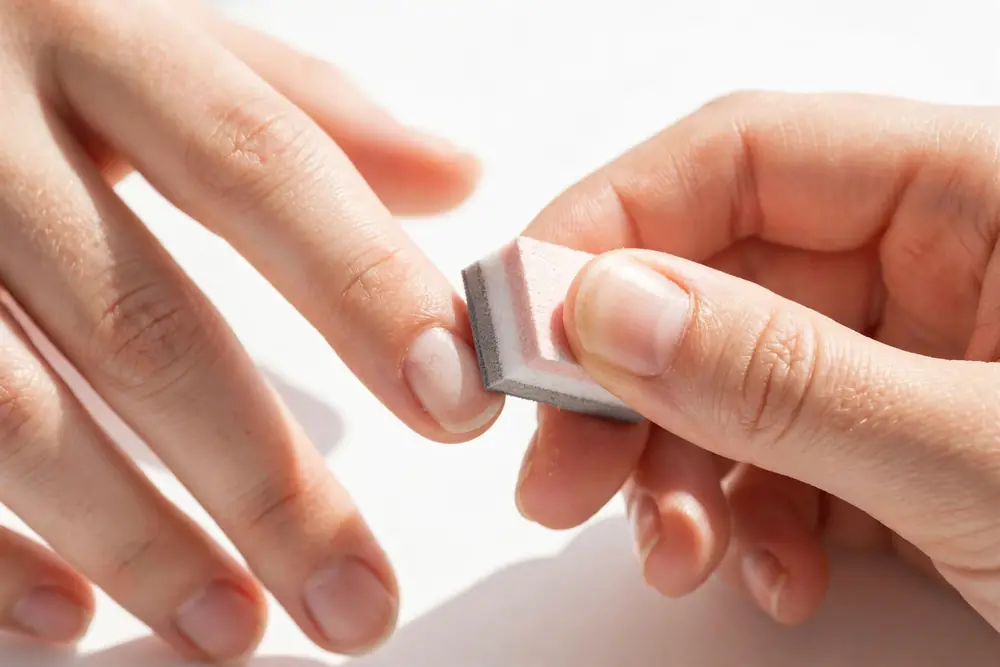
First, prep your nails. Push back your cuticles, gently buff the shine off each nail surface, and wipe with alcohol to remove oils. This step is non-negotiable — glue bonds poorly to oily, shiny nails, and skipping it is the top reason sets fail early.
Next, apply the adhesive. For glue, brush a thin, even layer on your natural nail — avoid flooding the cuticle area — and add a small dot to the underside of the tip. For tabs, stick the tab to your nail, peel off the backing, and align carefully before pressing.
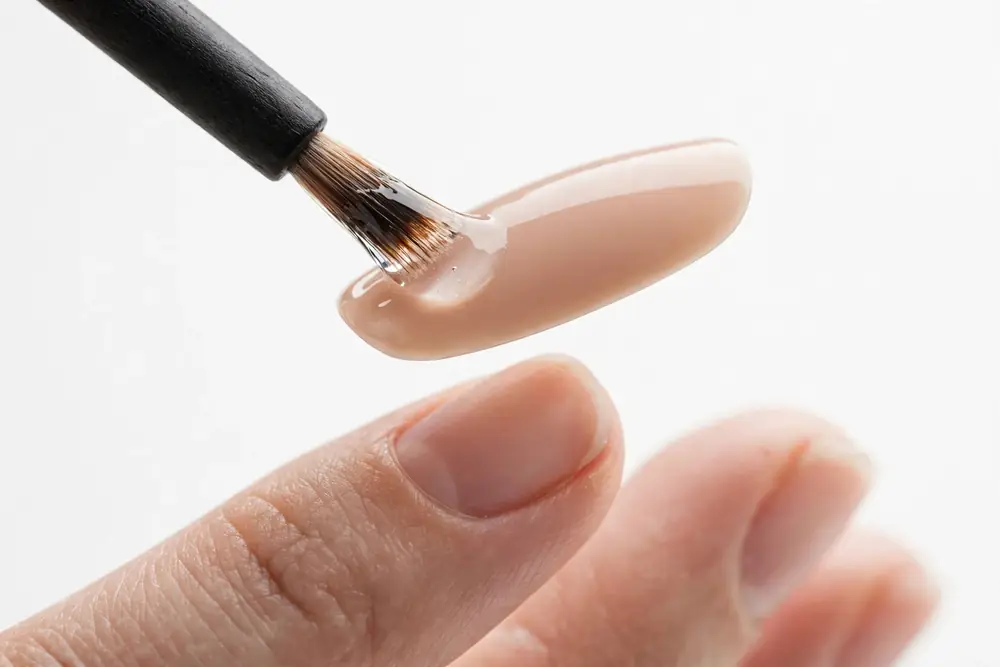
Then, apply each tip starting with your dominant hand’s pinky. Save the thumbs for last since you need them for pressing. Hold the tip at a 45-degree angle, press down from the cuticle toward the free edge to push out air bubbles, then hold firmly for 20 to 30 seconds.
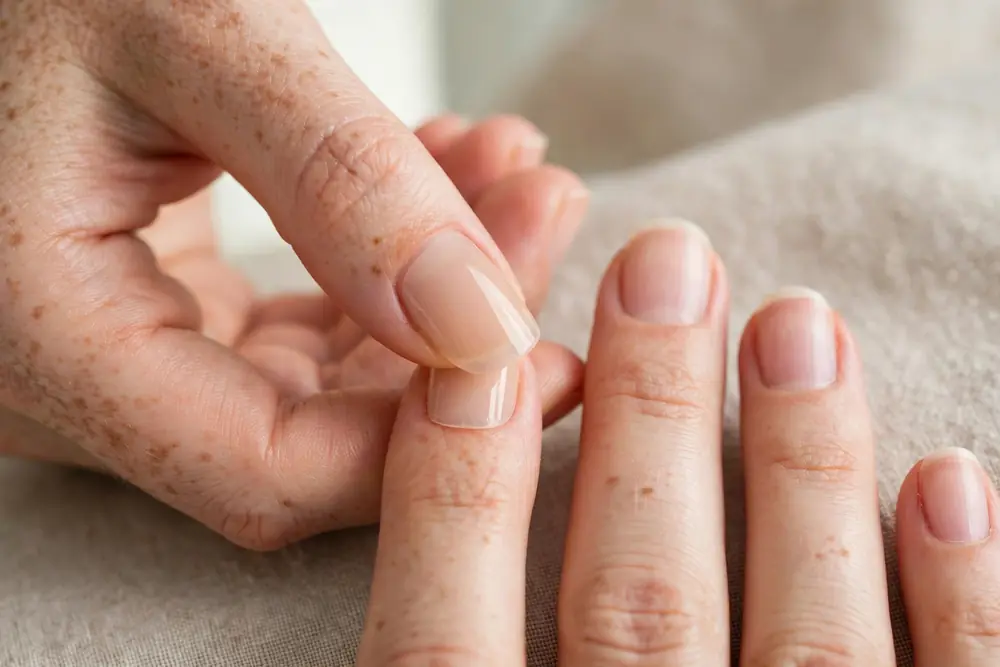
Finally, avoid water for at least one hour after application — overnight is even better, which is why many people apply their press on nails before bed. In addition, skip heavy-duty tasks like scrubbing for the first few hours while the bond fully cures.
How Long Do Press On Nails Last?
With adhesive tabs, expect one to three days. With brush-on glue and good prep, seven to fourteen days is realistic. Custom-fit and salon gel press ons can reach up to three weeks. Your lifestyle matters too — if you type all day, garden, or do dishes without gloves, expect the shorter end of each range.
However, water is the biggest enemy of longevity. Prolonged soaking softens both tabs and glue, so wear gloves for dishes and keep showers reasonable. Moreover, reapplying a tiny dot of glue under a lifting edge at the first sign of trouble can save the whole set — do not wait until the tip pops off completely.
How to Remove Press On Nails Without Damage
However, never rip press on nails off — that peels layers off your natural nail and causes exactly the kind of damage people wrongly blame on the product itself. Safe removal takes about 15 minutes and leaves your nails perfectly healthy.
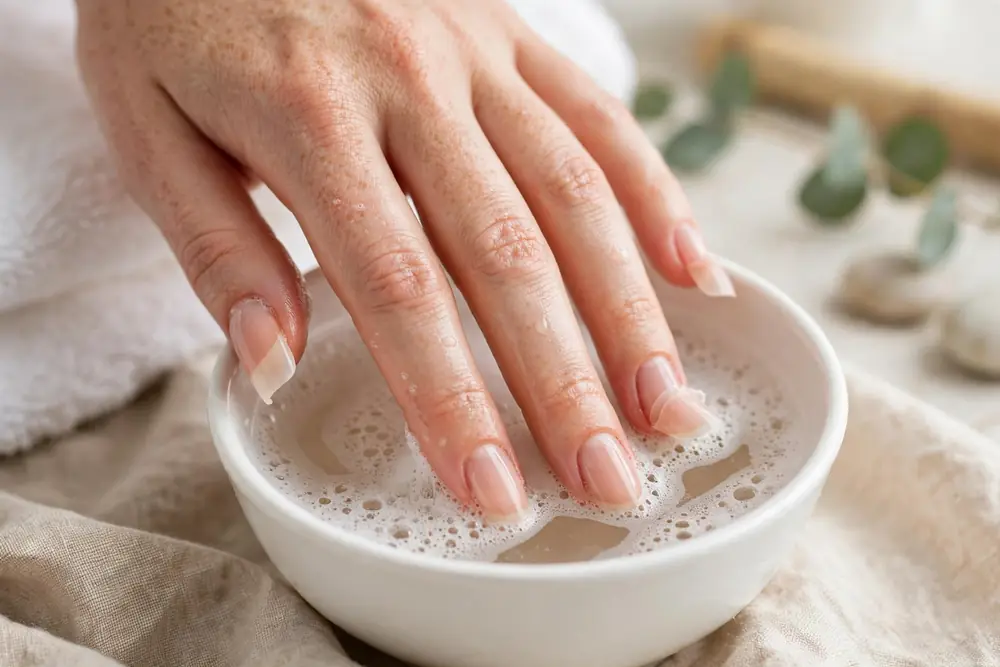
First, trim the tips down if they are long. Next, soak your hands in warm (not hot) soapy water for 10 to 15 minutes so the adhesive loosens gradually. Then, gently wiggle each tip from side to side — never pull upward. If one resists, soak for five more minutes rather than forcing it.
For stubborn glue, work a little cuticle oil around the edges and let it seep under the tip for a few minutes, since oil breaks down adhesive effectively. Finally, buff away any residue gently and moisturize well. Your natural nails should look and feel completely normal afterward.
Press On Nail Designs and Styling Ideas
One of the best things about press on nails is instant access to designs that would take hours — and serious skill — to hand-paint. From minimalist to maximalist, there is a set for every mood and occasion.
Everyday Elegant Designs
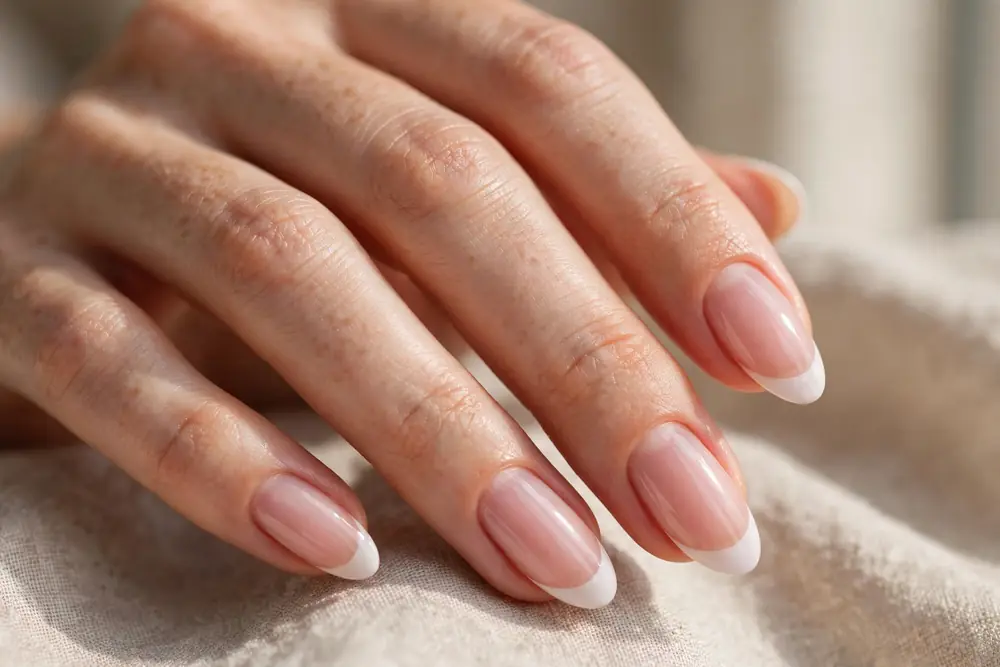
Nude, milky white, and soft pink press ons are timeless — they suit every outfit and occasion. French tip press ons are especially popular because the smile line comes pre-painted and perfectly even, something even professionals struggle to achieve freehand. For a modern twist, try micro-French or softly colored tips.
In addition, short almond sets in solid colors are the ultimate low-maintenance luxury: they look polished for weeks and suit professional settings. If you love nail art but lack the time to paint it yourself, our nail art designs guide is full of ideas you can find ready-made in press on form.
Statement and Trendy Designs
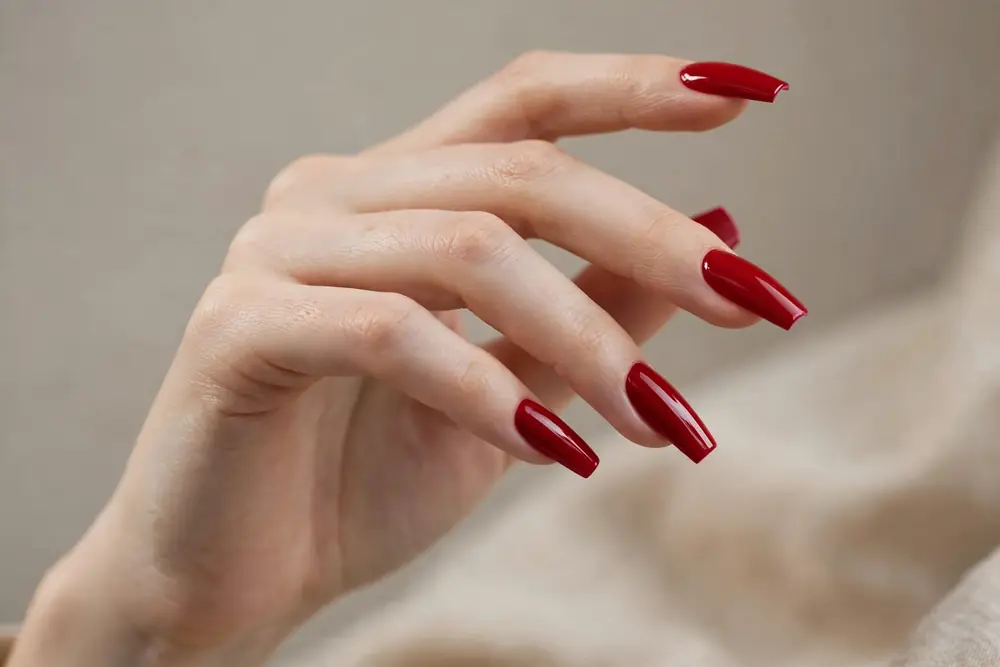
For maximum impact, go bold: chrome finishes, tortoiseshell patterns, 3D embellishments, or mix-and-match sets. Press ons make trends completely risk-free — you can wear dramatic chrome stilettos for a party on Saturday and switch back to short nudes on Monday morning.
Moreover, seasonal sets let you join every trend without booking a salon appointment. Since quality sets are reusable, you can build a small collection over time and rotate through it. It is like having a whole nail wardrobe in a drawer.
Press On Nails vs Acrylic vs Gel
How do press ons stack up against the salon staples? Each option has its place, so here is an honest breakdown to help you choose.
On application time, press ons win easily: 10 to 15 minutes at home versus 60 to 90 minutes in a salon chair. In terms of cost, a quality press on kit runs about the same as a single salon visit but covers multiple wears. As for nail health, press ons are the gentlest choice when removed properly, while acrylics involve drilling and harsher removal.
However, acrylics and gels win on longevity — three to four weeks versus one to two — and on customization, since a skilled technician can sculpt any shape and encapsulate art inside the nail. Press ons are limited to manufactured designs, though the available range grows every year. For the full picture, read our acrylic nails guide and gel nails guide.
The verdict? If you want salon looks on a budget, value your natural nail health, or enjoy changing styles often, press on nails are hard to beat. If you need maximum durability or fully custom sculpted art, booking the salon still makes sense.
Cost Comparison
A salon acrylic or gel manicure typically costs $40 to $80 or more per visit, repeated every two to three weeks — easily $1,000 or more per year. A quality press on nail kit costs $8 to $20 for a full application, while premium reusable sets run $20 to $35 and survive three to five wears.
In other words, a full year of press on nails can cost under $150 even if you buy a brand-new set every month. As a result, switching from salon manicures to press ons is one of the simplest beauty budget wins available. The trade-off is about 15 minutes of your own time per application — a fair exchange for most people.
Nail Care Under Press Ons
Wearing press ons does not mean neglecting your natural nails. In fact, they can protect your nails while they grow — many people use them as a shield to stop biting or prevent breakage.
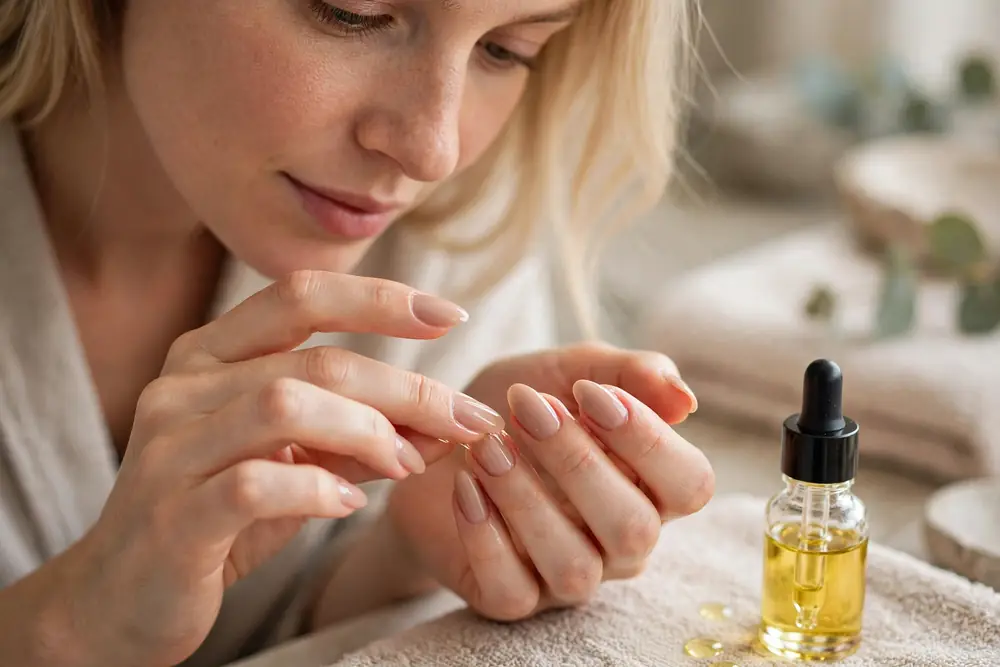
Keep your cuticles moisturized with oil every few days, applying it carefully around the tips rather than underneath them. In addition, give your nails a breather between sets: two to three days of bare nails with a strengthening treatment keeps them healthy over the long term. For a complete routine, see our nail care tips.
Watch for warning signs as well. A persistently lifting tip can trap moisture underneath, so replace lifted tips promptly instead of gluing over them. Moreover, if your nails feel thin after removal, the removal was probably rushed — slow down and soak longer next time.
Common Press On Nail Mistakes to Avoid
Most press on failures come down to a handful of avoidable mistakes. First, skipping prep: applying tips to oily, unbuffed nails is the number one reason sets pop off within a day.
Second, using too much glue. A flood of adhesive squeezes out around the edges, looks messy, and ironically weakens the bond. Thin, even layers hold stronger. Third, wrong sizing — tips that overlap onto skin will start lifting within hours.
Fourth, getting them wet too soon. Give the adhesive at least an hour — ideally overnight — to cure fully before dishes or long showers. Finally, ripping them off instead of soaking: this damages your natural nails and ruins the tips for reuse. Avoid these five mistakes and your press ons will look and last like a salon manicure.
Frequently Asked Questions
How long do press on nails last?
Adhesive tabs last one to three days, while brush-on glue lasts seven to fourteen days with proper prep. Custom-fit and salon gel press ons can reach three weeks. Prep quality and water exposure are the biggest factors.
Do press on nails damage your natural nails?
No, not when applied and removed correctly. Damage comes from ripping them off or over-buffing the natural nail. Gentle soak-off removal leaves nails completely healthy.
Can you reuse press on nails?
Yes. With careful removal, quality sets can be reused three to five times. Gently buff old adhesive from the underside of each tip before reapplying.
Are press on nails better than acrylic nails?
They are cheaper, faster, gentler on natural nails, and reusable — but acrylics last longer (three to four weeks) and allow fully custom sculpting. The better choice depends on your priorities.
Can I shower and wash dishes with press on nails on?
Yes, but prolonged hot water weakens the adhesive. Wear gloves for dishes and keep showers moderate to maximize how long your set lasts.
How can I make my press on nails last longer?
Prep thoroughly (buff and dehydrate), size each tip correctly, use thin glue layers, press firmly for 30 seconds, avoid water for an hour afterward, and re-glue lifting edges immediately.
Conclusion
Press on nails have earned their place as a genuine alternative to salon manicures: affordable, fast, gentle on natural nails, reusable, and available in endless designs. Whether you want a one-night statement set or a two-week everyday manicure, there is a type and technique that fits your life.
Finally, start with a glue-on kit in a short almond shape, follow the prep steps carefully, and you will be amazed at the results. Happy pressing!