
Halloween is the one time of year when your nails get to be the main character. While costumes and makeup usually steal the spotlight, a great set of Halloween nails can pull your whole look together — or even carry it completely on their own. Whether you love cute and playful designs or full spooky glam, there is a Halloween manicure out there with your name on it.
In this guide, you will find more than 25 Halloween nail ideas for every skill level, from five-minute beginner designs to detailed salon-worthy art. You will also learn which colors and tools to buy, how to paint popular designs step by step, and how to make your manicure survive every party — plus safe removal and aftercare for afterwards.
So grab your black polish and your detail brush — it is time to get spooky. This guide works for natural nails, gel polish, and extensions alike.
Why Halloween Nails Are the Best Part of Spooky Season
There is something magical about Halloween nails. Unlike a costume you wear once, your manicure travels with you everywhere — to work, to class, to every party on your calendar. As a result, it might be the hardest-working part of your whole Halloween look.
Halloween nail art is also about creative freedom. For most of the year, many of us stick to neutrals and safe shades. However, October gives you full permission to go dark, glittery, and weird — black polish with red accents, glow-in-the-dark tips, a tiny ghost on every finger. All completely acceptable.
Halloween nails are also surprisingly practical. A costume can be expensive and uncomfortable, yet a ten-dollar bottle of polish and an hour of your time can deliver the same festive feeling. Meanwhile, if you are attending multiple events, one versatile manicure works with every outfit, from witch to vampire to last-minute cat ears.
25+ Spooky-Cute Halloween Nail Design Ideas
Below are the most-loved Halloween nail designs for 2026, organized from cute to creepy, with difficulty notes for each. Short on time? Choose one statement design and keep the rest simple.
Pumpkin and Jack-o-Lantern Halloween Nails
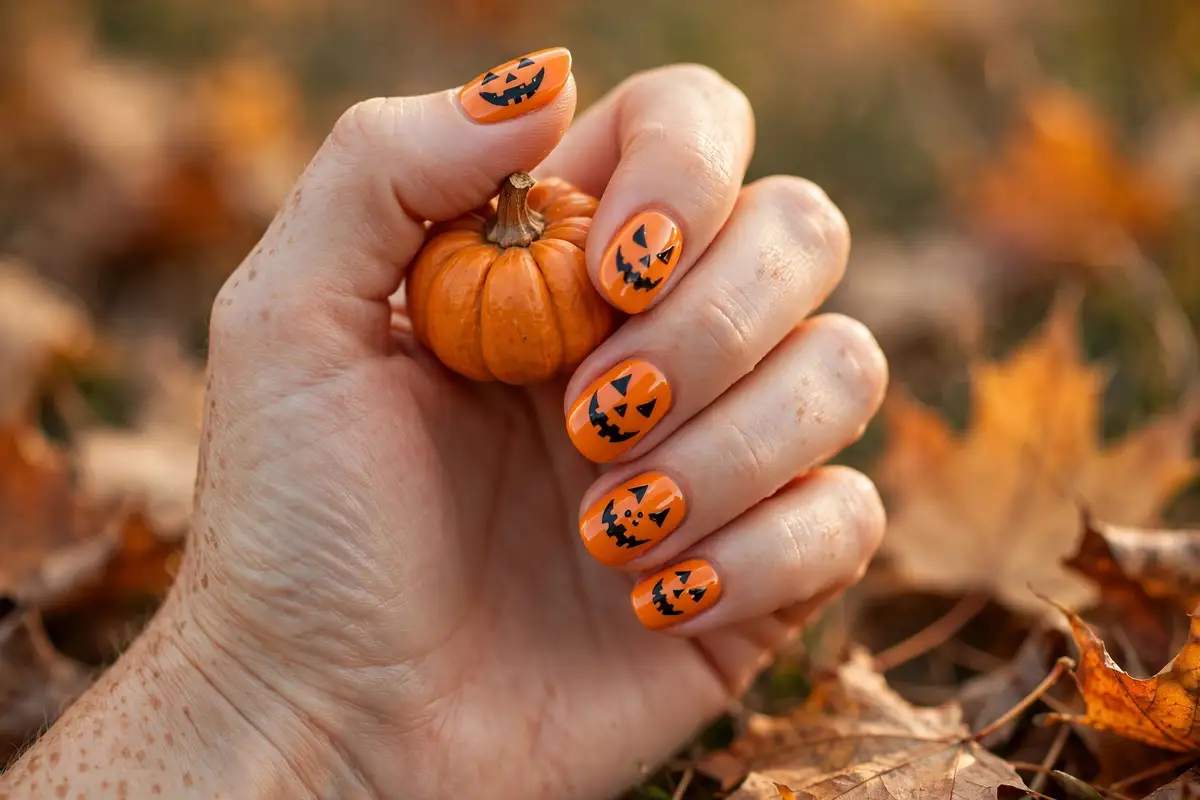
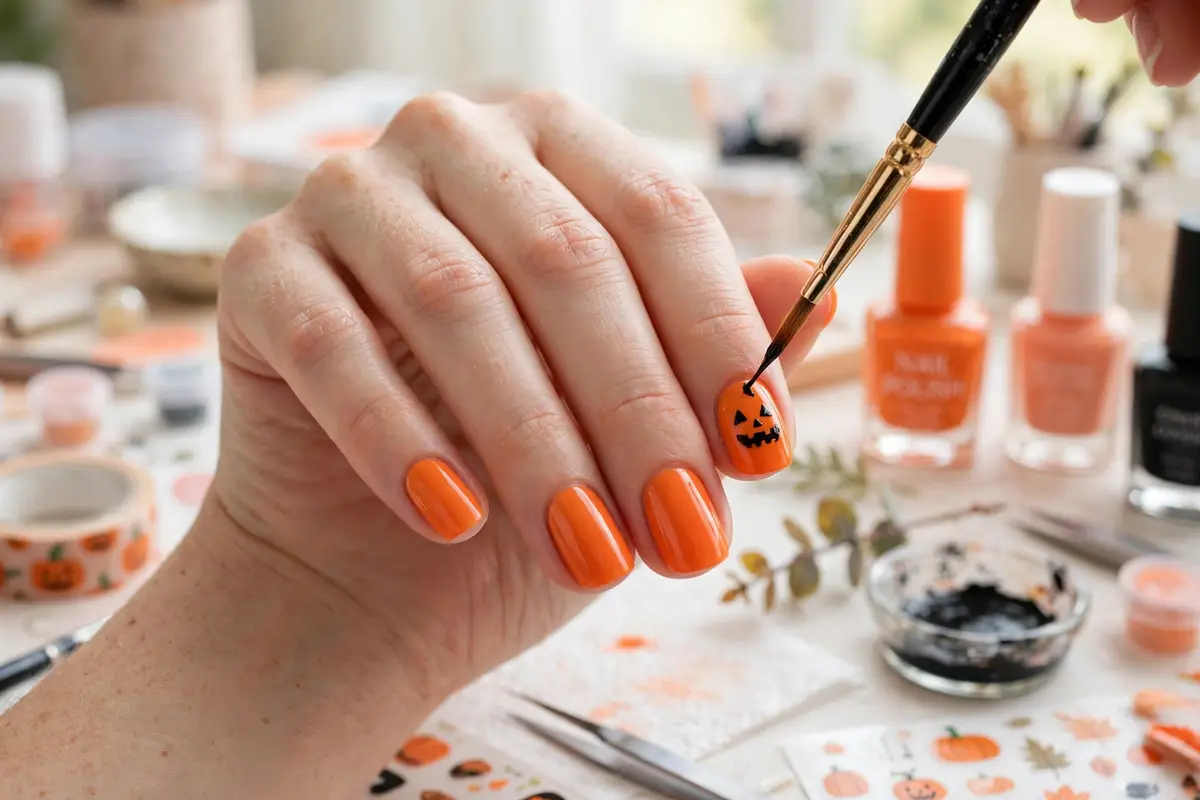
Nothing says Halloween like pumpkins. A glossy orange base with hand-painted jack-o-lantern faces is cheerful, recognizable, and easier than it looks. First, paint two coats of pumpkin orange. Next, use a thin detail brush and black polish to add triangle eyes and a jagged smile. Finally, seal everything with a glossy top coat.
If freehand faces feel intimidating, try a simpler version: paint all nails orange, then add a single black pumpkin face on one accent nail per hand. The rest can stay solid orange or get a sprinkle of gold glitter. This approach looks intentional and polished while cutting your painting time in half.
For a grown-up take, swap bright orange for burnt pumpkin or terracotta, with faces in deep brown instead of black. The result reads autumn-elegant rather than costume-y — perfect for the office in the weeks before Halloween.
Ghost and Spiderweb Nail Art
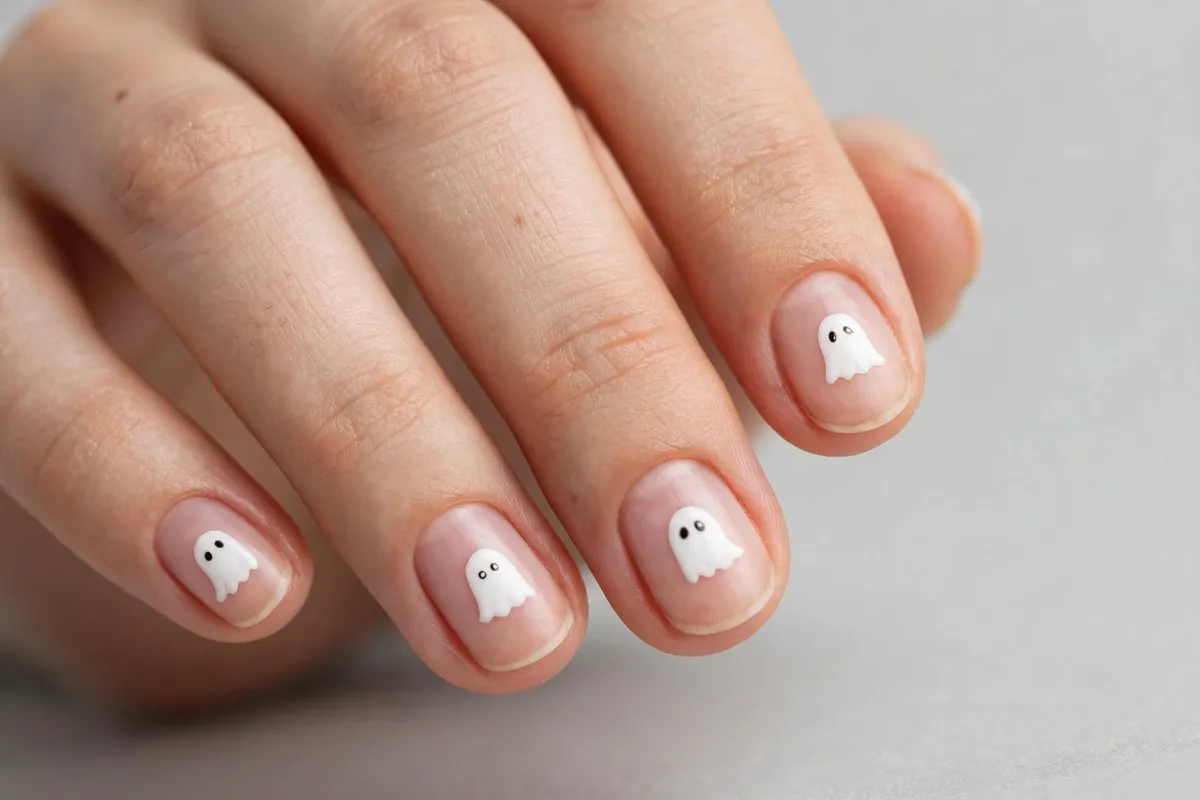
Ghosts and spiderwebs are the backbone of cute Halloween nail art, and both are genuinely beginner-friendly. For ghosts, paint your nails a soft gray or pale lavender, then add a white blob shape near the tip. Two tiny black dots for eyes and one small oval for the mouth complete the cutest little ghost you have ever seen.
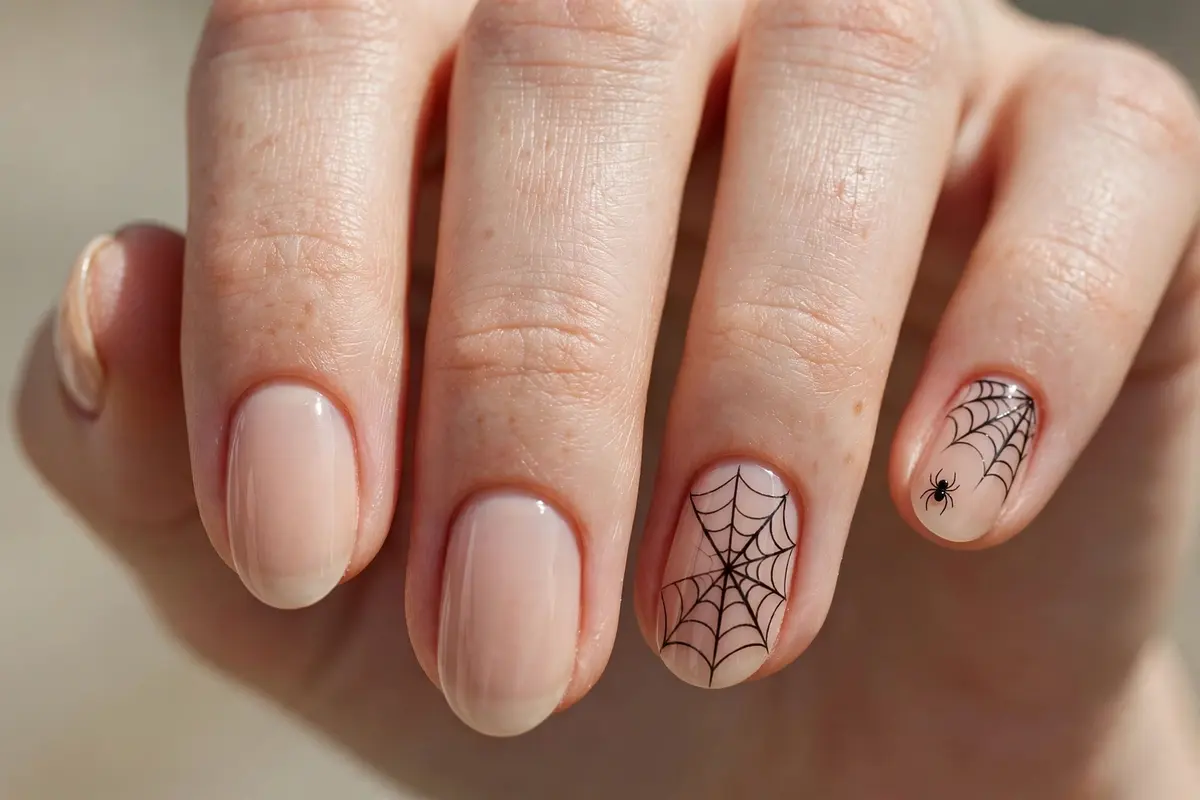
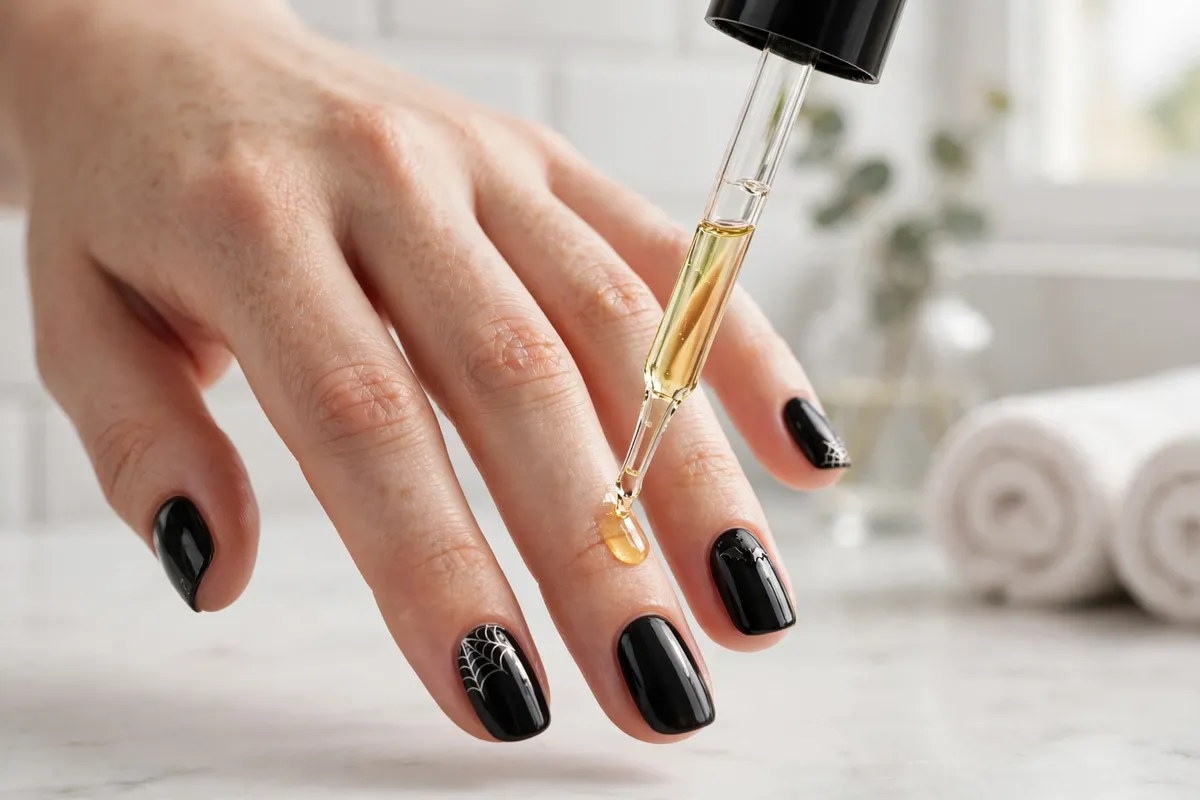
Spiderwebs look impressive but follow a simple formula. Start with a dark base — black, deep purple, or navy. Next, use a detail brush with white polish to draw three or four straight lines radiating from one corner. Then connect them with small curved arcs to form the web. A tiny spider dot with eight thin legs takes the design to the next level.
You can wear ghosts and webs together or separately. A popular combination is ghost nails on most fingers with one spiderweb accent nail per hand. Because both designs use simple shapes, they are forgiving — slightly wobbly lines still look charmingly handmade.
Vampy Dark Ombre and Blood-Red Halloween Tips
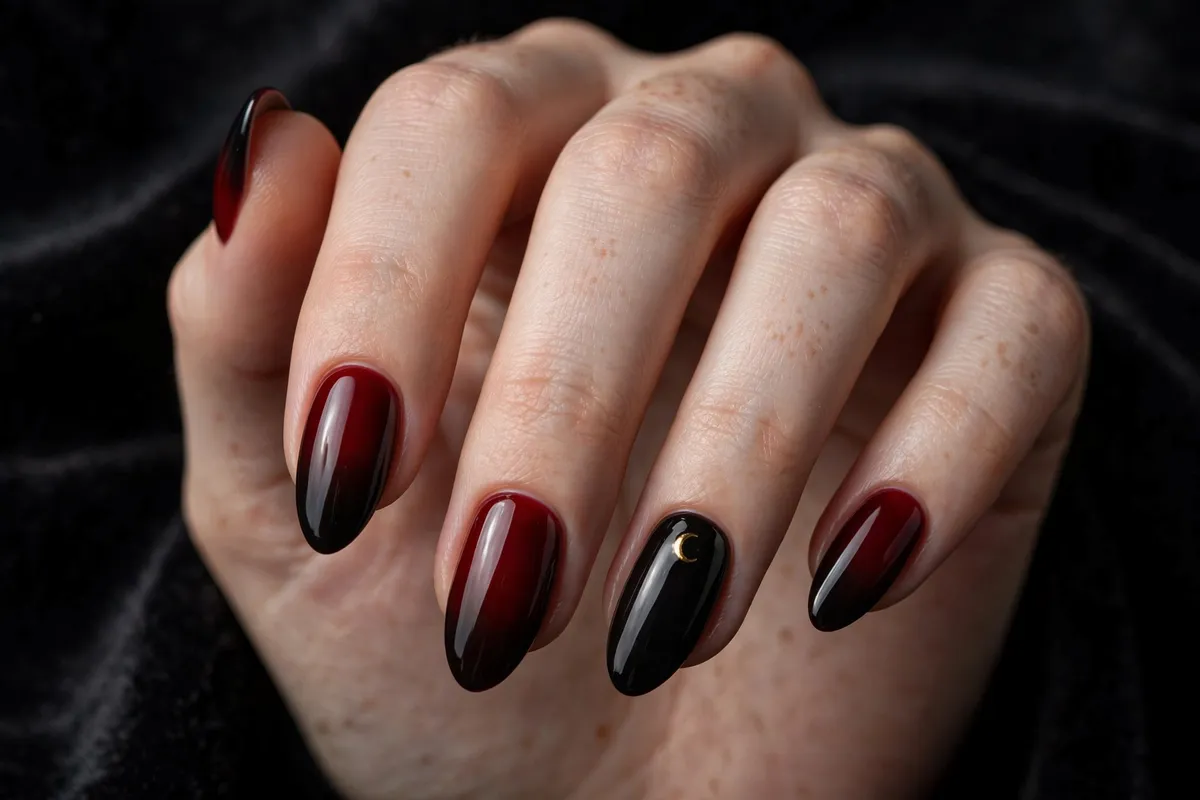
For a sultrier Halloween look, nothing beats a dark red-to-black ombre, fading from black at the cuticle to rich red at the tip. The sponge technique makes it achievable at home: paint your base color, then dab the second shade on with a makeup sponge in thin layers.
Blood-red French tips are the bolder cousin of this look. Instead of classic white tips, paint dripping red tips over a nude base for a vampire-inspired effect. To create the drip, use a detail brush to pull thin lines of red polish down from the tip edge at varying lengths. It sounds tricky, however the organic nature of drips means imperfections actually improve the effect.
Both styles look stunning on longer nail shapes like almond, coffin, or stiletto, since the extra length shows off the gradient. If you want serious length and durability for Halloween night, consider starting from acrylics — our acrylic nails guide covers everything from application to aftercare.
Black Cat, Bat and Witchy Designs
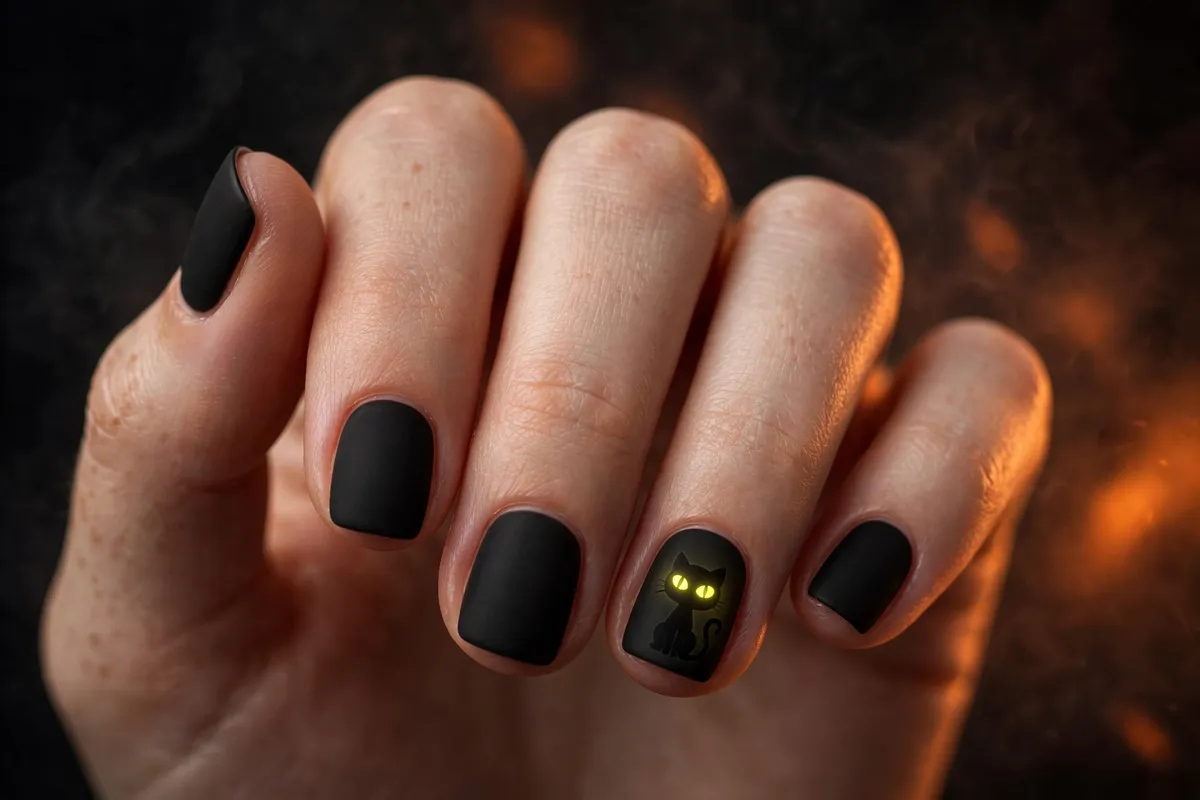
Black cats are a Halloween classic. A matte black manicure with one accent nail featuring a cat silhouette — pointed ears and glowing yellow eyes — is equal parts cute and spooky. Cat stickers or decals make this design nearly foolproof.
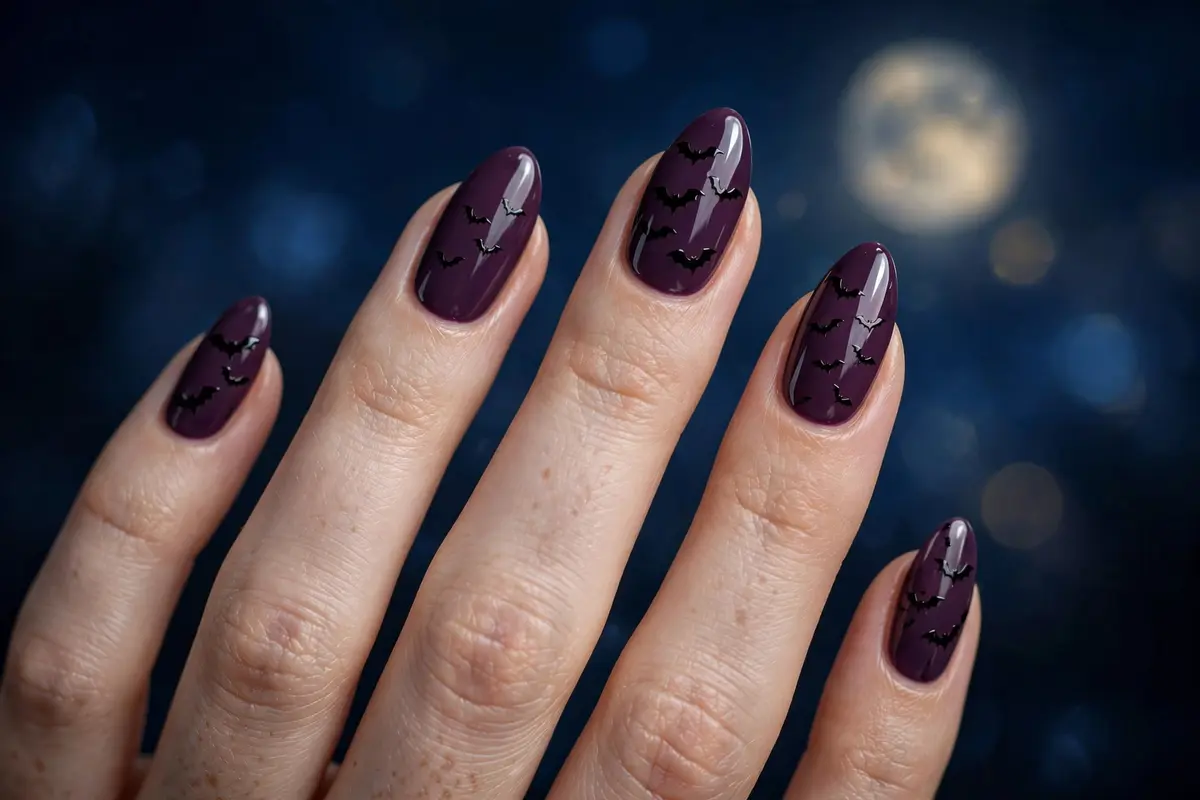
Tiny bat silhouettes are another easy win. Paint your nails a deep plum or midnight blue, then stamp or draw small black bats across two or three nails. Because bats are simple shapes, even shaky hands can manage them. In addition, bats look great on every nail length, from short squares to long stilettos.
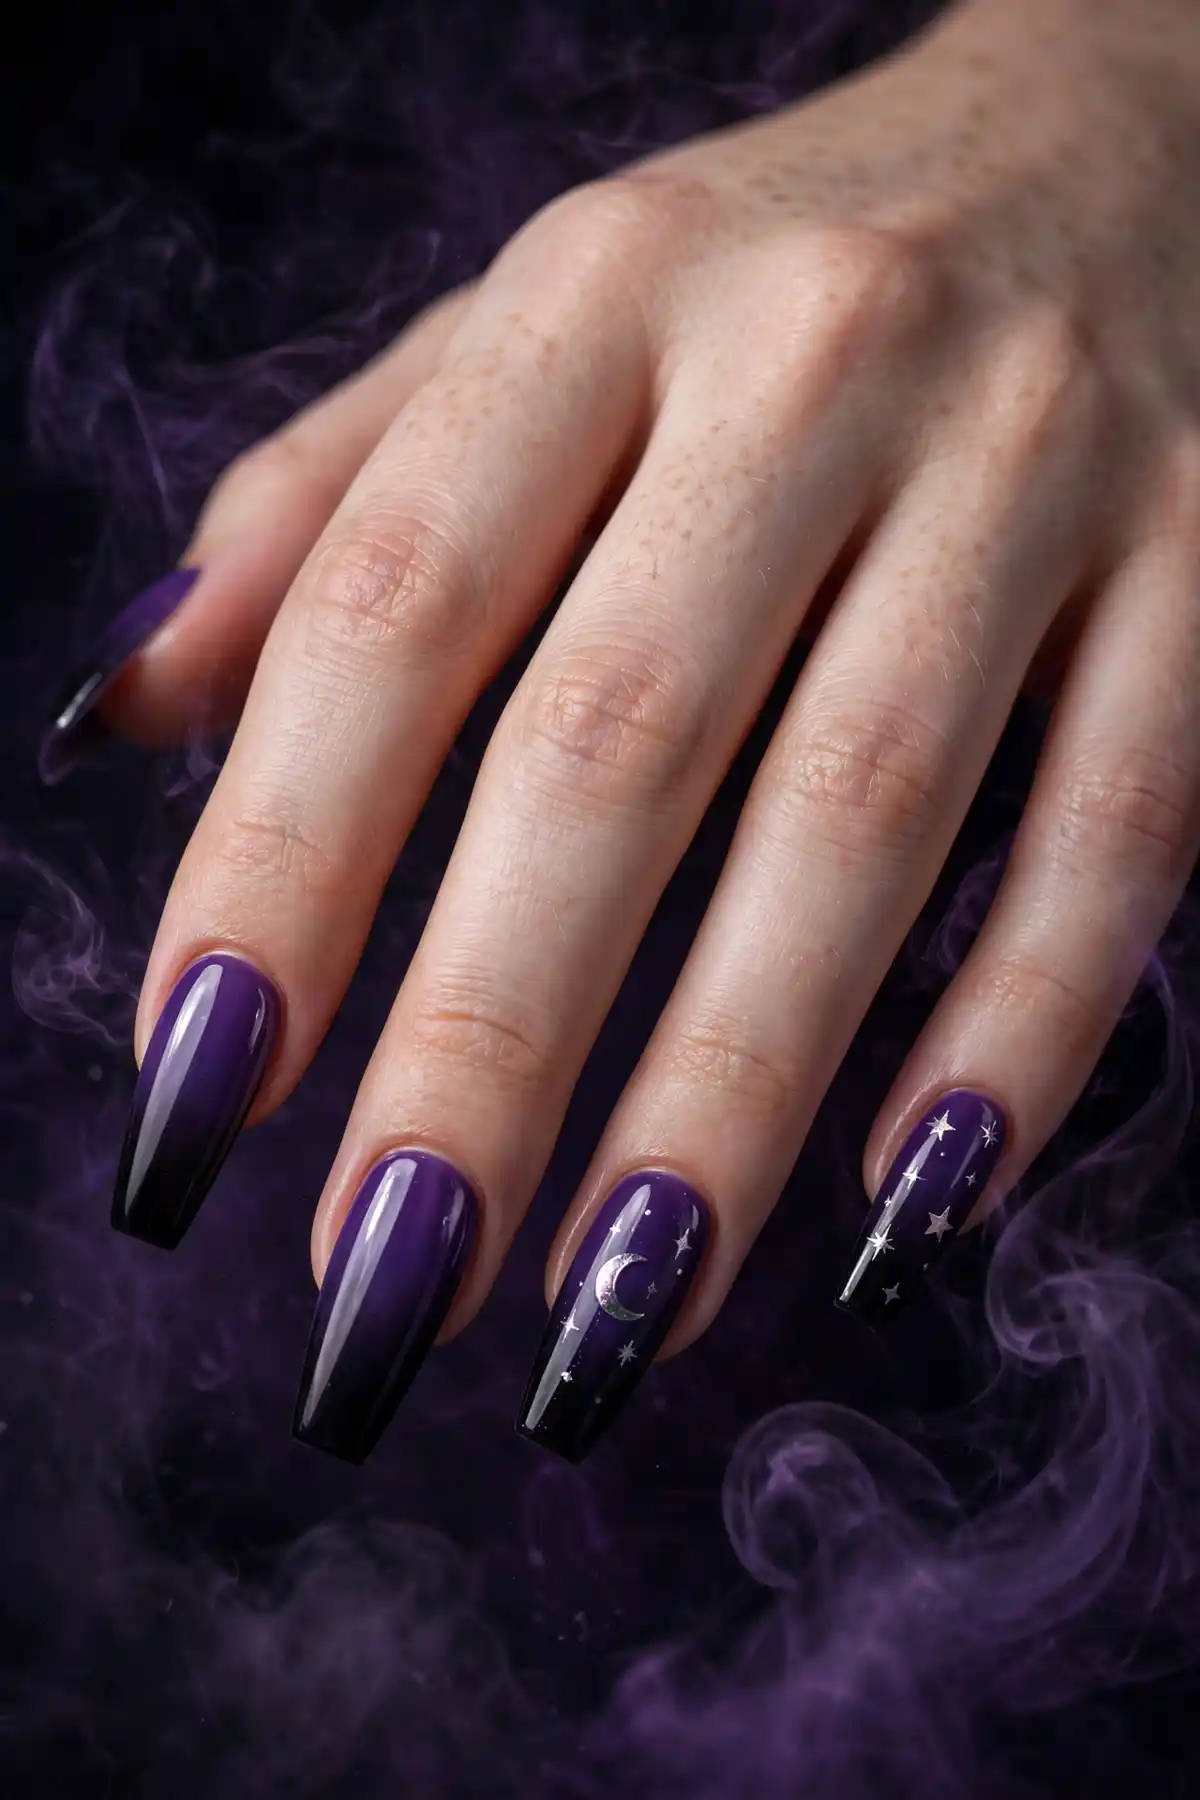
For full witchy vibes, combine a purple-to-black ombre with silver moon and star decals. This celestial Halloween look is elegant enough for a nice dinner yet festive enough for a costume party. Finish with a glossy top coat to make the metallic decals shine.
Candy Corn and Glow-in-the-Dark Halloween Nails
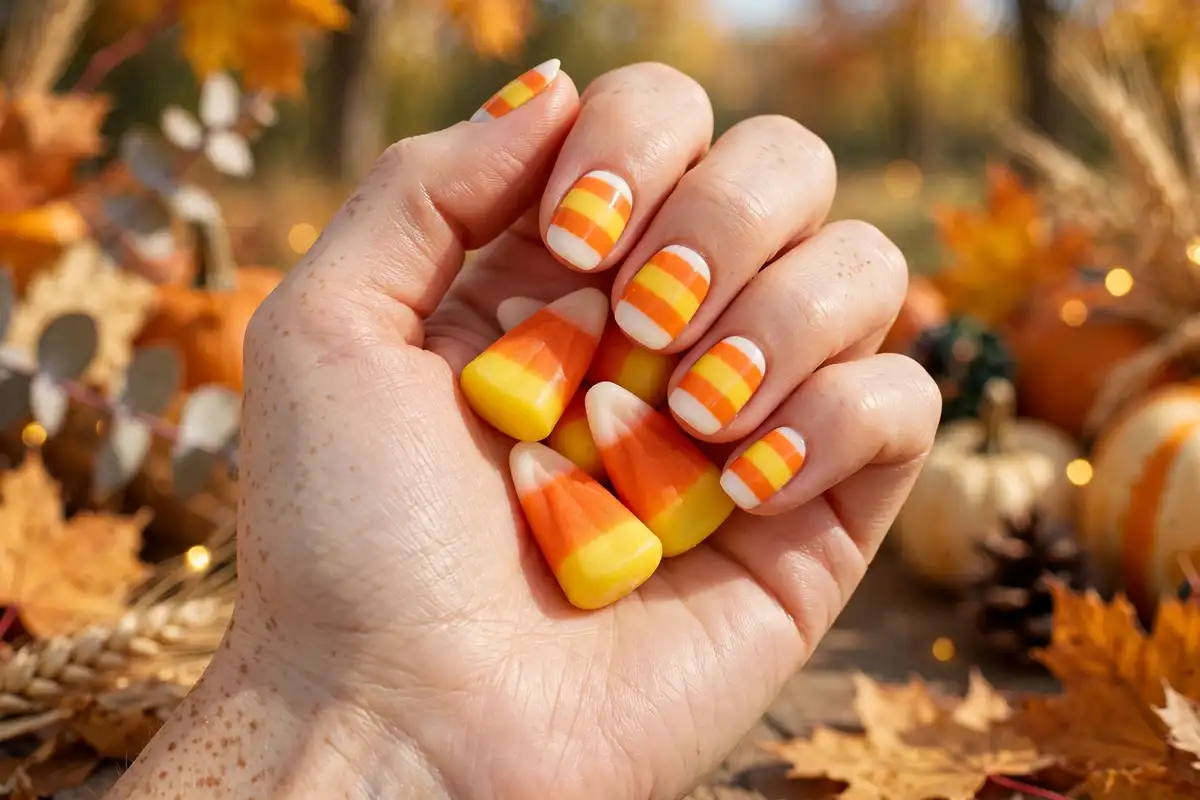
Candy corn nails are pure nostalgia. Each nail gets three horizontal stripes — white at the tip, orange in the middle, yellow at the base — mimicking the classic candy. Use striping tape or a steady hand with a detail brush to keep the lines crisp. This design is cheerful, colorful, and perfect if gory Halloween looks are not your style.
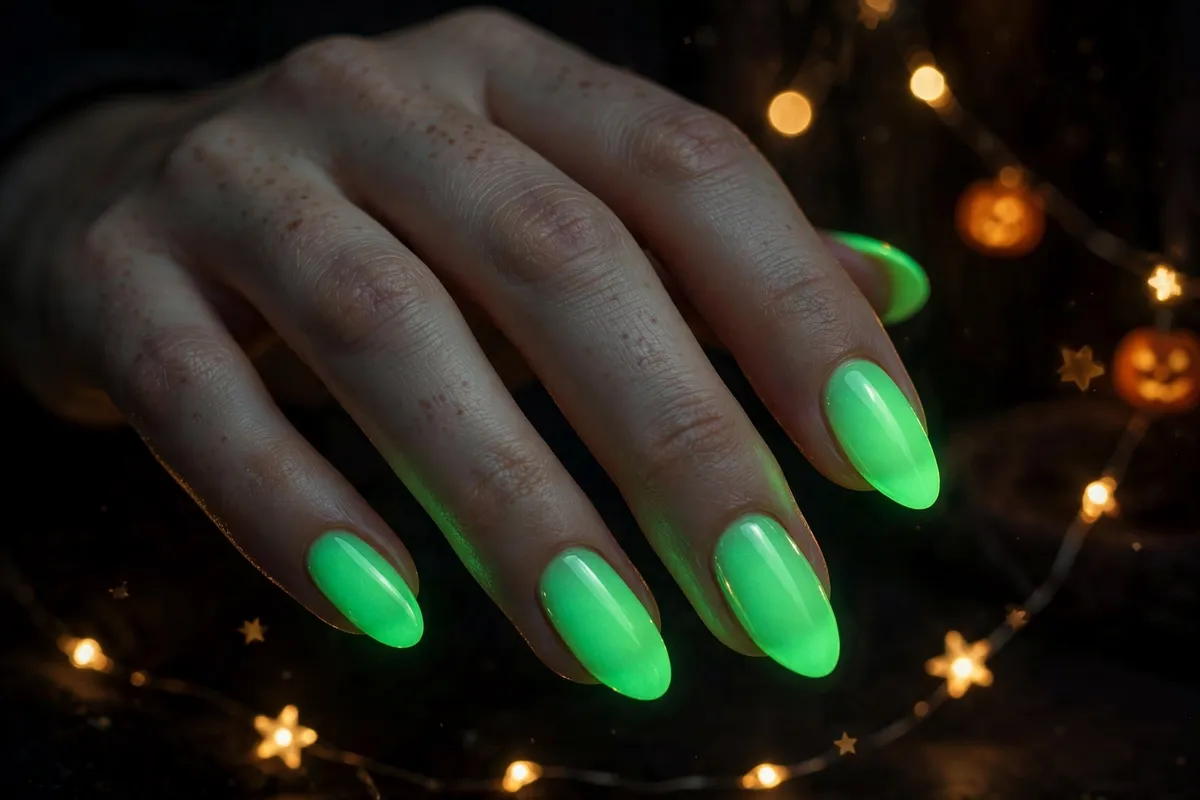
Glow-in-the-dark nails are the ultimate party trick. Special glow polishes charge under light, then emit an eerie green glow in the dark. Apply them over a white base for maximum brightness — your nails will literally light up the dance floor.
You can also combine the two ideas: paint candy corn stripes with glow-in-the-dark polish for a design that looks sweet by day and spooky by night. As a result, you get two manicures in one — a strong return on your painting time.
Easy DIY Halloween Nails for Beginners
You do not need salon skills to pull off great Halloween nails. In fact, many of the cutest designs use only dots, lines, and stickers — techniques any beginner can learn in an afternoon. If you are brand new to nail art, our beginner nail art guide teaches the foundational skills first, then you can come back here for Halloween-specific ideas.
The secret to beginner-friendly Halloween nail art is simple shapes: ghosts are blobs with dots, spiderwebs are lines and arcs, pumpkins are orange ovals with triangle faces. Embrace a handmade look and everything gets easier — and honestly cuter.
What You Will Need
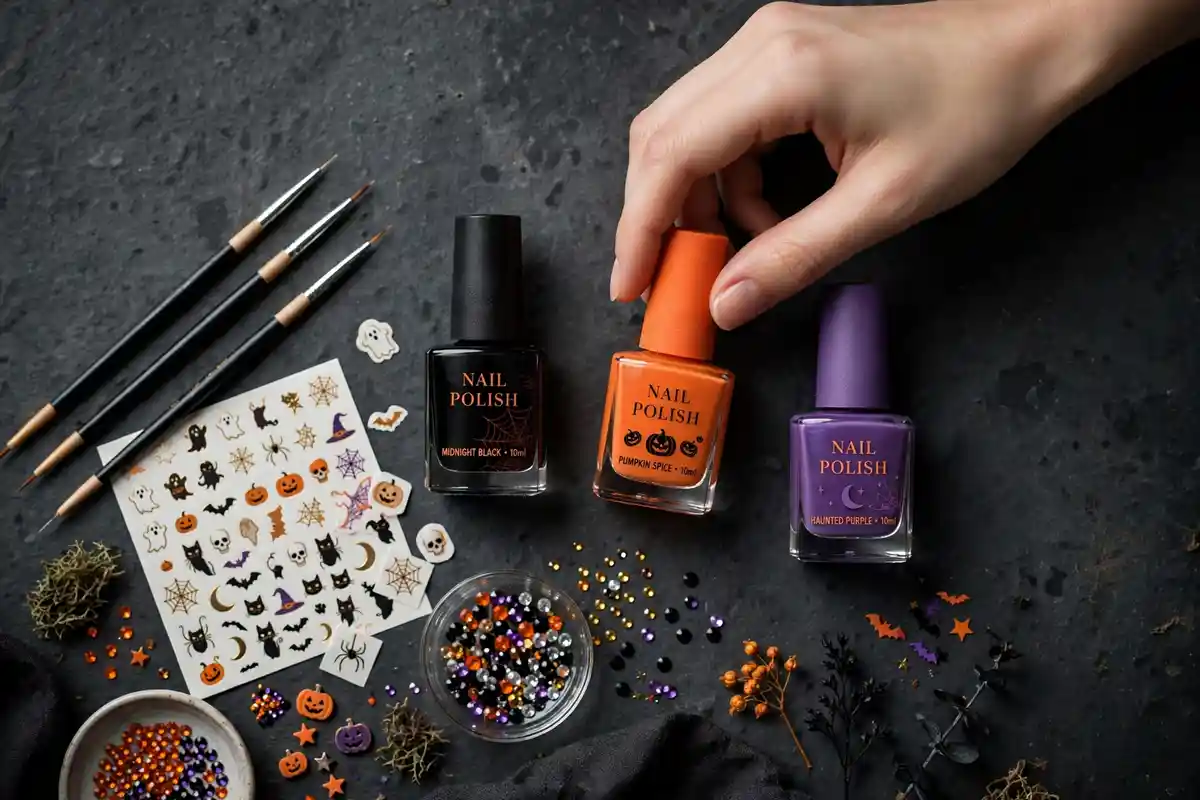
Before you start, gather a small kit: base coat, top coat, and your colors — black, white, and orange cover most Halloween designs. A thin detail brush (or a toothpick) handles faces and fine lines, while a dotting tool makes perfect eyes and dots. The rounded end of a bobby pin works as a substitute.
Nail stickers and decals are a beginner’s best friend. Ghost, bat, pumpkin, and spider stickers cost very little and look impressively neat. Simply place them on dry polish and seal with top coat. In addition, keep cotton pads and acetone nearby for quick cleanups — a small angled brush dipped in remover tidies edges beautifully.
Step-by-Step: Cute Ghost Halloween Nails
This is the perfect first Halloween design. First, apply base coat and two coats of pale gray or lavender, letting each dry for two minutes. Next, use a dotting tool to place a plump white blob near the center of each nail — the ghost’s body. Pull it slightly downward into a wavy bottom edge with a detail brush.
Then, with black polish on the smallest dotting tool, add two eyes and a small oval mouth on each ghost. Keep the faces tiny and centered for maximum cuteness. Finally, apply a glossy top coat once everything is completely dry. The whole design takes about twenty minutes for both hands, and it looks adorable on short nails.
Step-by-Step: Simple Spiderweb Accent Nail
A spiderweb accent nail adds instant Halloween cred to any manicure. First, paint the accent nail solid black and let it dry fully — this step matters, because wet black polish will smear. Next, load a detail brush with white polish and draw three straight lines radiating from the bottom corner of the nail.
Then connect the lines with small curved arcs, working outward from the corner. Rest your wrist on the table to keep steady. Finally, add a tiny spider — one dot for the body, a smaller dot for the head, eight thin legs. Seal with top coat for a salon-looking accent nail in under ten minutes.
Halloween Manicure Color Palettes That Always Work
Choosing the right colors is half the battle. The classic Halloween palette — black, orange, purple, and blood red — never fails, and these four shades alone can create dozens of designs. Black brings drama, orange brings pumpkin cheer, purple adds witchy mystery, and deep red delivers vampire glamour.
For a softer take on spooky season, try unexpected combinations. Black and gold looks luxurious, especially with metallic accents. Deep plum paired with silver feels celestial and elegant. Even baby pink can join the Halloween party — a baby pink base with tiny black bats or spiderwebs creates an adorable cute-meets-creepy contrast that stands out from the usual dark shades.
Neon and glow shades deserve special mention: slime green, electric purple, and hot orange pop under party lights and photograph incredibly well. However, neons can stain, therefore always wear base coat underneath them.
When in doubt, pick three colors maximum per manicure. A limited palette looks more intentional — for example, black plus orange plus gold covers pumpkins, webs, and luxe accents all at once.
How to Make Your Halloween Nails Last Through Every Party
There is nothing worse than chipped Halloween nails halfway through October. Fortunately, a few prep and application habits dramatically extend wear time. First, always start with clean, dry nails — push back cuticles, gently buff away shine, and wipe each nail with alcohol or acetone to remove oils. Polish bonds best to a clean surface.
Next, apply thin coats rather than thick ones — they dry faster, cure harder, and chip less. In addition, cap the free edge by running polish along the very tip of each nail, and reapply top coat every two to three days for serious longevity.
Your daily habits matter too. Wear gloves for dishes and cleaning, since hot water and chemicals are polish killers. Meanwhile, use cuticle oil daily — hydrated nails flex instead of cracking, and the surrounding skin looks far better in photos. If a chip does happen before an event, a tiny dab of matching polish plus top coat hides it well enough for the evening.
For maximum durability, consider gel polish or acrylic extensions as your base. Gel resists chips for two weeks or more, while acrylics add length and strength for dramatic shapes. Our acrylic nails guide covers the full process.
Safe Removal and Aftercare for Your Spooky Manicure
After Halloween, your nails deserve recovery — especially after dark colors, glitter, or extensions. Dark polishes can stain the nail plate yellow or gray, however this is usually surface-level. Soak in warm, soapy water for five minutes, then lightly buff to lift most staining.
Glitter polish is notoriously stubborn. Instead of scrubbing, use the foil method: soak a cotton pad in acetone, place it on the nail, wrap with foil, and wait ten minutes. The glitter slides off with minimal scraping. As a result, you avoid the harsh rubbing that thins and weakens nails.
If you wore acrylics or gel, never peel or pry them off — this rips up layers of your natural nail. Soak-offs take patience, but your nails will thank you. Once everything is removed, trim, file, and moisturize. A week of cuticle oil twice daily and a strengthening base coat restores most nails beautifully.
Common Halloween Nail Art Mistakes to Avoid
Even experienced DIYers slip up with Halloween nail art. The most common mistake is skipping base coat, especially under dark colors. Black, red, and purple pigments stain bare nails badly, and the discoloration can linger for weeks. A good base coat takes sixty seconds and prevents the entire problem.
Another frequent error is painting designs on wet polish. Halloween art involves layering — faces over orange, webs over black — and each layer must be dry before the next goes on. If you rush, colors bleed together into a muddy mess. When in doubt, wait an extra two minutes between steps; patience is the real secret ingredient.
Overloading every nail with detailed art is also a trap — ten intricate designs look chaotic. Instead, choose one or two accent nails for art and keep the rest in complementary solids. The contrast makes your detailed nails stand out more.
Finally, do not forget top coat — it seals your designs, adds shine, and protects against chips. For textured designs like rhinestones, use two layers to lock everything in place.
Frequently Asked Questions
How far in advance should I do my Halloween nails?
For regular polish, paint one to two days before your event. Gel or acrylics can go on up to a week ahead. For multiple October parties, a durable gel or acrylic base applied mid-month will carry you through.
What are the easiest Halloween nail designs for beginners?
Ghosts, dots, and stickers are the easiest starting points. Ghost nails need only a white blob and black dots, while Halloween stickers require zero painting skill — just place and seal. Spiderwebs are the next step up, and they look impressive with only lines and arcs.
How can I make my Halloween nail art last longer?
Prep is everything: clean nails, base coat, thin layers, and capped free edges. Reapply top coat every few days, wear gloves for housework, and use cuticle oil daily.
Can I do Halloween nails on short nails?
Absolutely — many Halloween designs look even better on short nails. Ghosts, pumpkins, bats, and candy corn all suit shorter lengths, and simple designs read more clearly on a small canvas. Short nails are also more practical for daily life during the Halloween season.
Which colors do I need for Halloween nail art?
Black, white, and orange cover most classic designs; purple and deep red add witchy and vampire options. A detail brush and dotting tool matter more than owning every shade.
How do I remove glitter Halloween polish without damaging my nails?
Use the foil soak-off method: place an acetone-soaked cotton pad on each nail, wrap with foil, and wait ten minutes. The glitter will slide off without harsh scraping. Never peel glitter polish, since peeling removes layers of your natural nail along with it.
Conclusion
Halloween nails are the ultimate October accessory — creative, affordable, and guaranteed to spark conversations. Whether you choose cute ghosts, elegant spiderwebs, vampy ombre, or glow-in-the-dark drama, there is a design here for every style and skill level.
Remember the fundamentals: prep properly, work in thin layers, let each step dry, and always finish with top coat. When the holiday ends, remove everything gently and nourish your nails.
Now it is your turn to get spooky. Pick a design, gather your polishes, and enjoy the most creative manicure of the year. Happy Halloween!