
Starting nail art for the first time can feel intimidating. Social media is full of complex designs that look impossible to recreate. However, beginner nail art is much simpler than it appears. For example, most eye-catching manicures start with just three basic skills: dotting, striping, and sponging.
This complete guide is made for total beginners. Specifically, you will learn which tools you actually need, how to prep your nails like a pro, and 17 easy designs with clear step-by-step instructions. In addition, you will discover simple fixes for the mistakes every beginner makes.
What makes a design beginner-friendly? First, it uses basic tools you already own or can buy cheaply. Second, it forgives small wobbles — dots and stripes look charming even when they are not perfect. Finally, each design below takes 30 minutes or less from start to finish.
Therefore, by the end of this guide, you will have the confidence to create beautiful nail art at home. Grab your polish, and let’s get started.
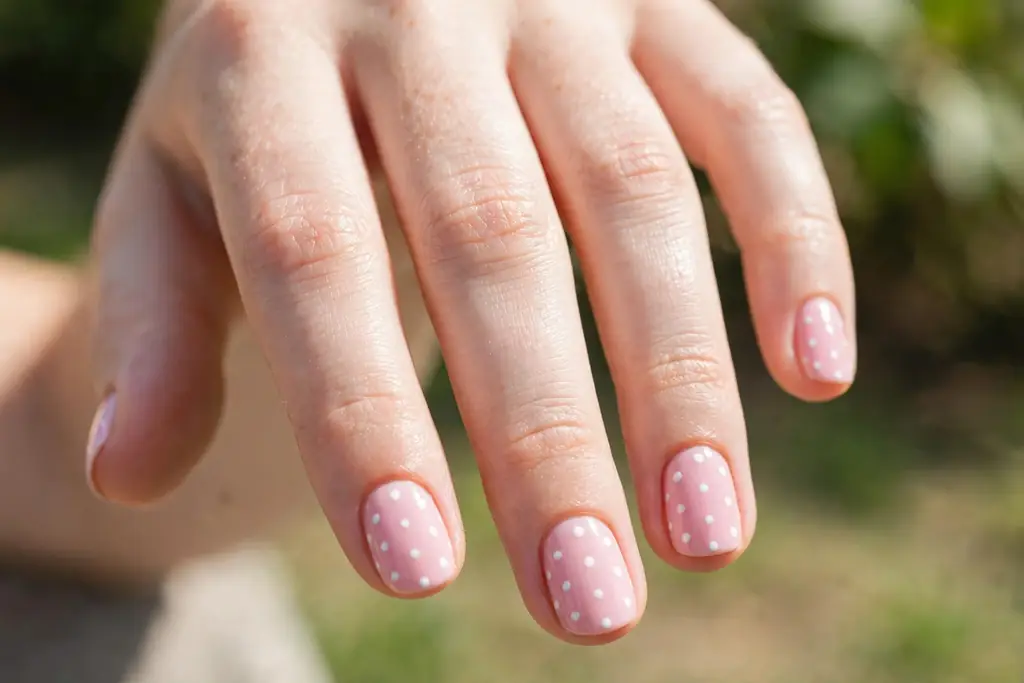
Essential Beginner Nail Art Toolkit
First, you do not need a professional kit to start. In fact, most beginners already own half of what they need. Focus on quality basics first, and add fun extras later.
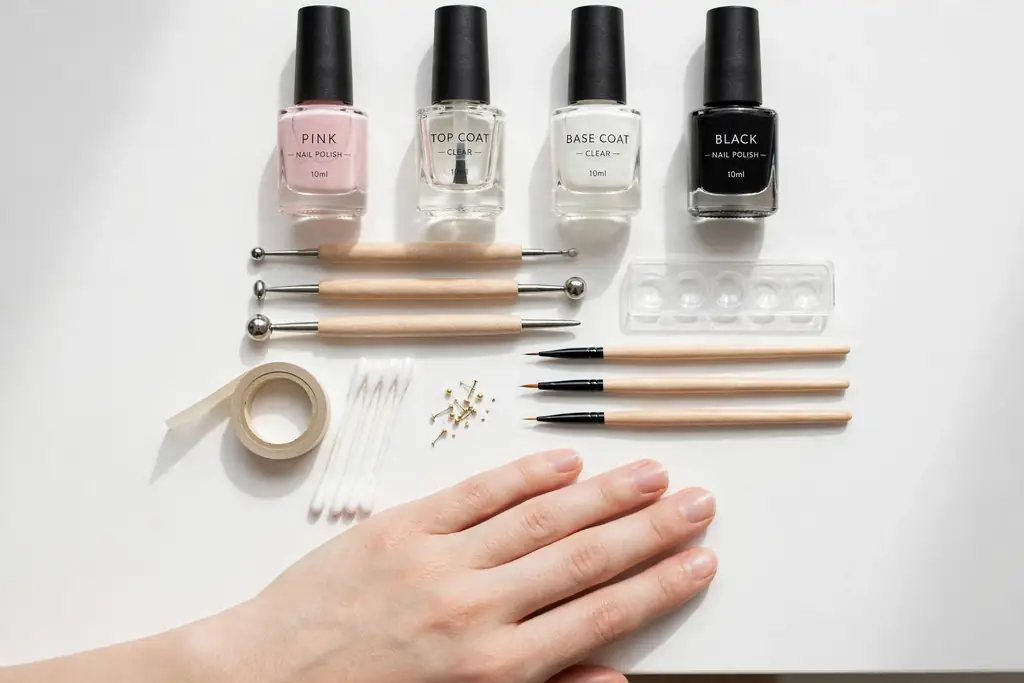
Must-Have Tools
- Base coat — protects your natural nail from staining and helps polish grip better. Never skip it.
- 3–4 nail polish colors — pick one neutral (nude, white, or soft pink), one bold color you love, one dark shade for contrast, and one glitter for accents.
- Top coat — seals your design, adds shine, and prevents chipping. A quick-dry formula saves time.
- Dotting tools — a set with multiple ball sizes costs very little and unlocks dozens of designs.
- Thin nail art brush — for lines, outlines, and tiny details. A cheap set is fine to start.
- Nail file and buffer — smooth the edges and gently buff the nail surface for better polish adhesion.
- Cuticle pusher and cuticle oil — neat cuticles make every design look cleaner.
- Makeup sponge wedges — the secret behind gradient ombré nails. Regular cosmetic sponges work perfectly.
- Cleanup brush and acetone — for crisp, clean edges around the cuticles.
- Cotton pads and nail polish remover — for removal and correcting mistakes.
With these ten items, you can recreate every design in this guide. Therefore, resist the urge to buy a giant 50-piece kit before your first manicure. In addition, start small and upgrade only when you know which techniques you enjoy most.
If you fall in love with longer, sculpted looks later on, you can explore our guide to acrylic nails once you master the basics.
Nice-to-Have Extras
- Nail stamping kit — plates, stamper, and scraper for instant patterns.
- Striping tape — thin stickers that create perfect lines and geometric shapes.
- Matte top coat — transforms any design into a trendy matte finish.
- Rhinestones and studs — tiny gems add instant glamour to simple designs.
- Peel-off latex barrier — paint it around nails before gradients to make cleanup effortless.
These extras are also fun, but none of them are required. Your skills also matter far more than your shopping list.
How to Prep Your Nails for Beginner Nail Art
In fact, great nail art starts before you open a polish bottle. Proper prep also makes polish last longer and designs look sharper. As a result, skipping it is the top reason manicures chip within a day.
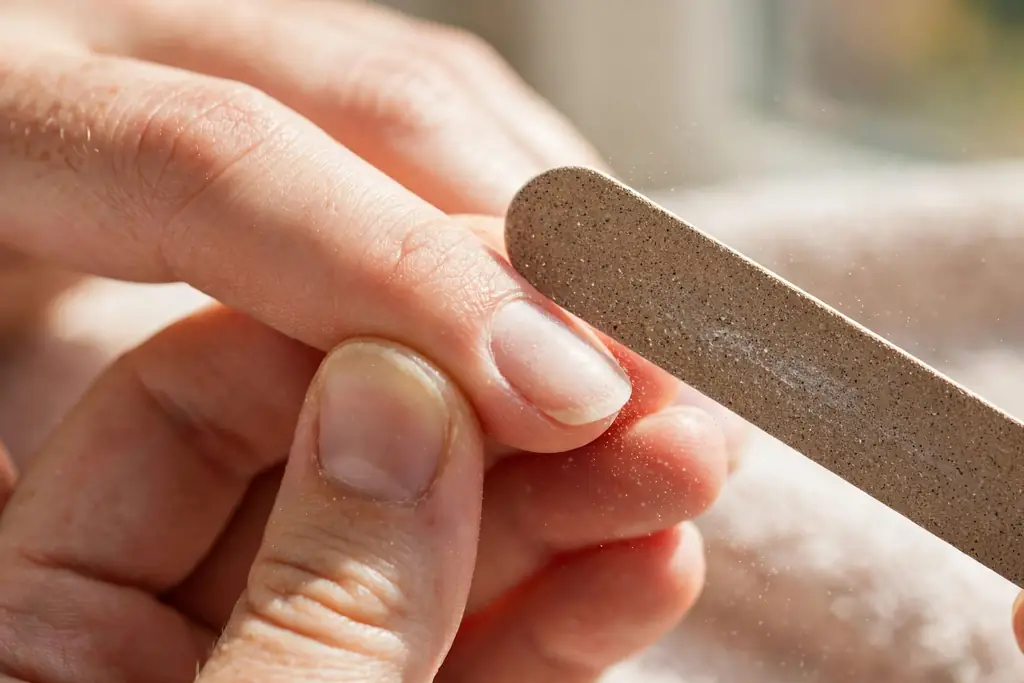
- Remove old polish completely. Soak a cotton pad in remover, press it on the nail for 10 seconds, then wipe toward the tip.
- Shape your nails. File in one direction — not back and forth — to avoid weakening the nail edge. Oval and squoval shapes are the most forgiving for beginners.
- Soak and soften. Dip your fingertips in warm water for 2–3 minutes. This softens cuticles and loosens dirt under the nails.
- Push back cuticles gently. Use a cuticle pusher or orangewood stick. Never cut your cuticles, since this can lead to infection. For safe habits, check these dermatologist-approved nail trimming tips.
- Buff lightly. One or two gentle passes with a buffer remove ridges and help polish stick.
- Remove oils. Wipe each nail with polish remover or rubbing alcohol. This single step greatly improves wear time.
- Apply base coat. One thin layer protects against staining and gives color something to grip.
For deeper guidance on keeping nails healthy between manicures, browse our nail care guides.
17 Easy Nail Art Designs for Beginners
Specifically, here are 17 designs ordered from easiest to slightly more advanced. Each one also uses only the must-have tools. Pick one, follow the steps, and remember — progress matters more than perfection.
Dots and Dotticure
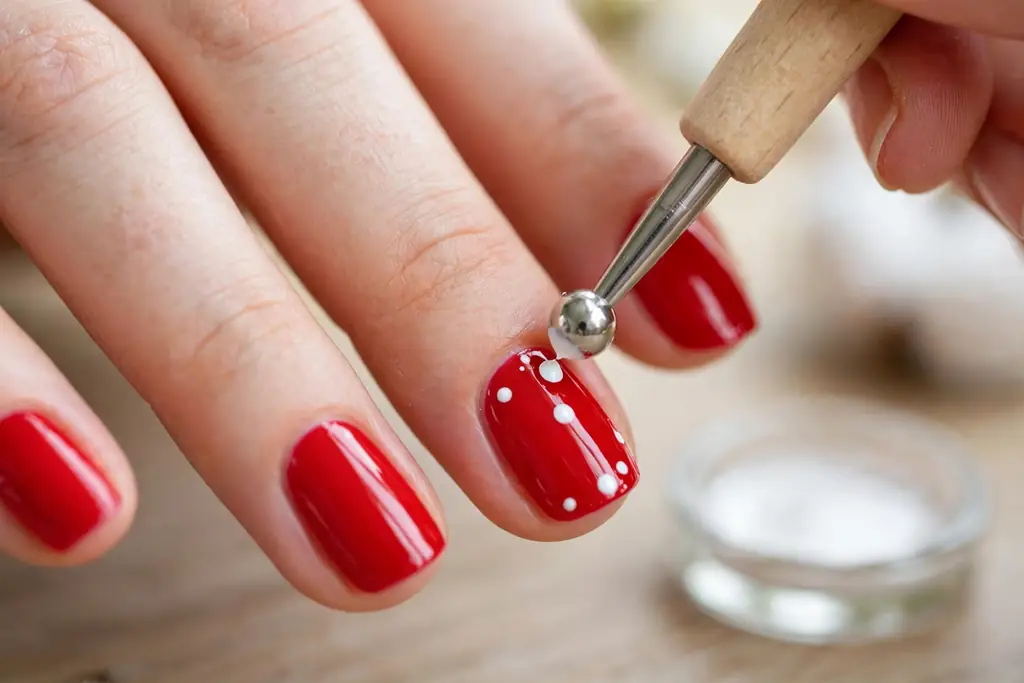
1. Classic polka dots. Paint your nails a solid base color and let them dry. Dip the large end of a dotting tool in a contrasting polish, then press dots in a neat grid. Finish with top coat.
2. Dotticure gradient. Place dots in a vertical line down the nail, starting large at the base and shrinking toward the tip. Use smaller dotting tools as you go for a fading effect.
3. Heart dots. Place two dots side by side, then drag a toothpick down through their center to form a heart. Two dots plus one drag — that is the whole trick.
Stripes and Line Art
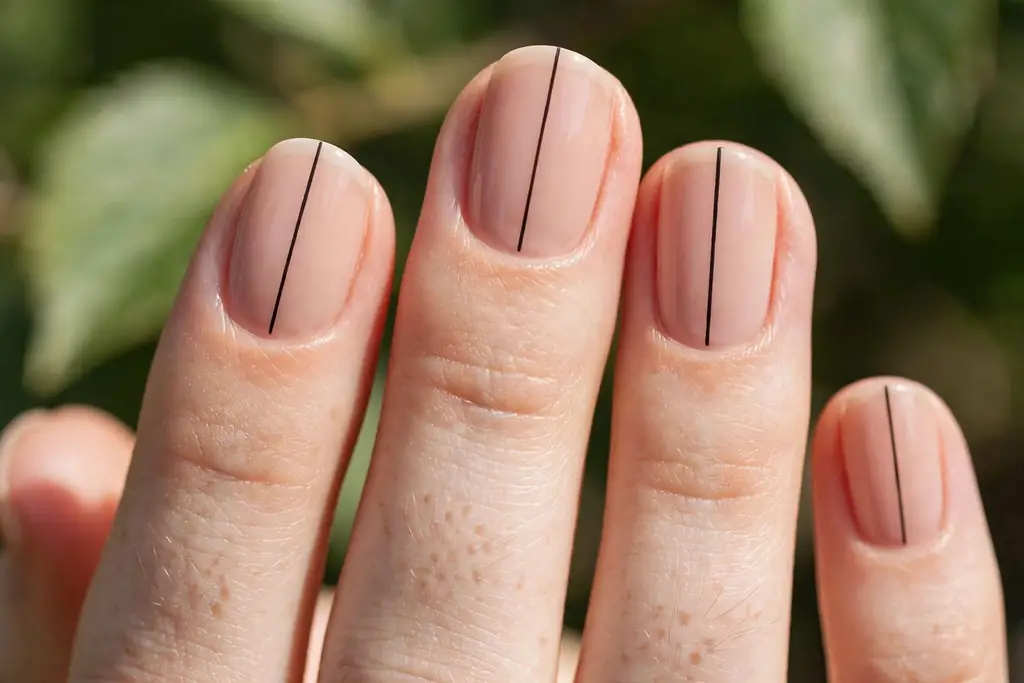
4. Single stripe accent. Paint all nails nude. Once dry, drag a striping brush in one smooth motion down the center of each ring finger. One confident stroke beats three shaky ones.
5. Crisscross lines. On a white base, draw two diagonal lines that cross in the middle of the nail. Add a tiny dot where they meet for a polished look.
6. Lined French tip. Paint a classic white French tip, then add a thin metallic line just below it. This modern twist hides wobbly tip edges beautifully.
Two-Tone and Color Blocking
7. Half-moon two-tone. Paint the whole nail one color. After it dries, paint the lower half a second color, following the curve of your cuticle.
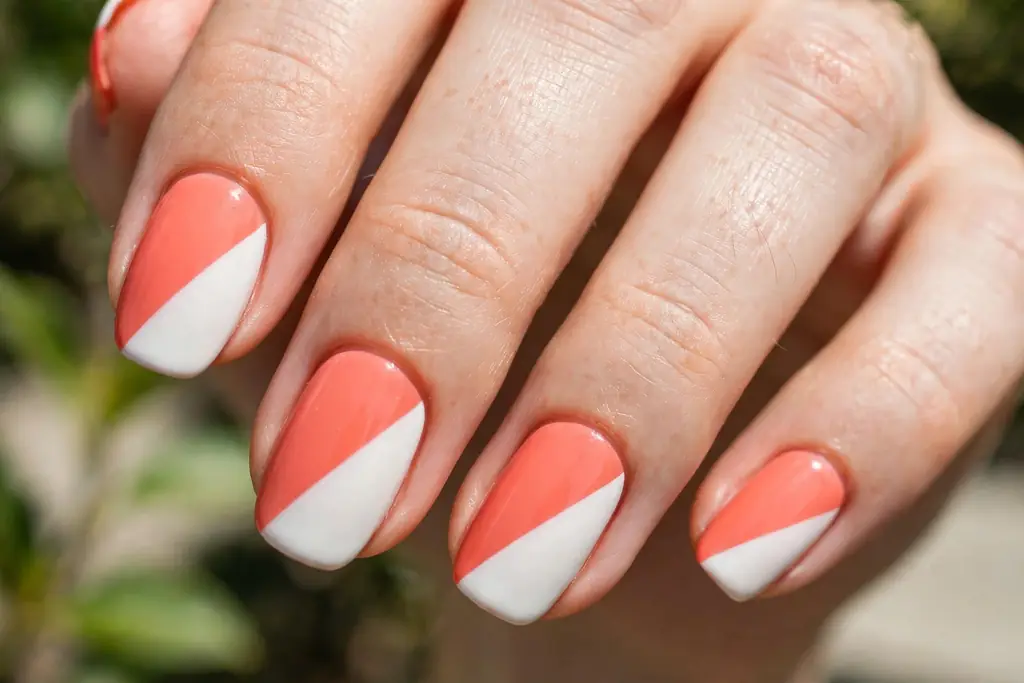
8. Diagonal color block. Apply the first color and let it dry fully. Place striping tape diagonally across the nail, paint the exposed half, then peel the tape while the polish is still slightly tacky.
9. Vertical split. Paint one half of the nail in each color with a straight vertical line down the middle. Bold and graphic, yet surprisingly easy.
Sponge Gradient Ombre
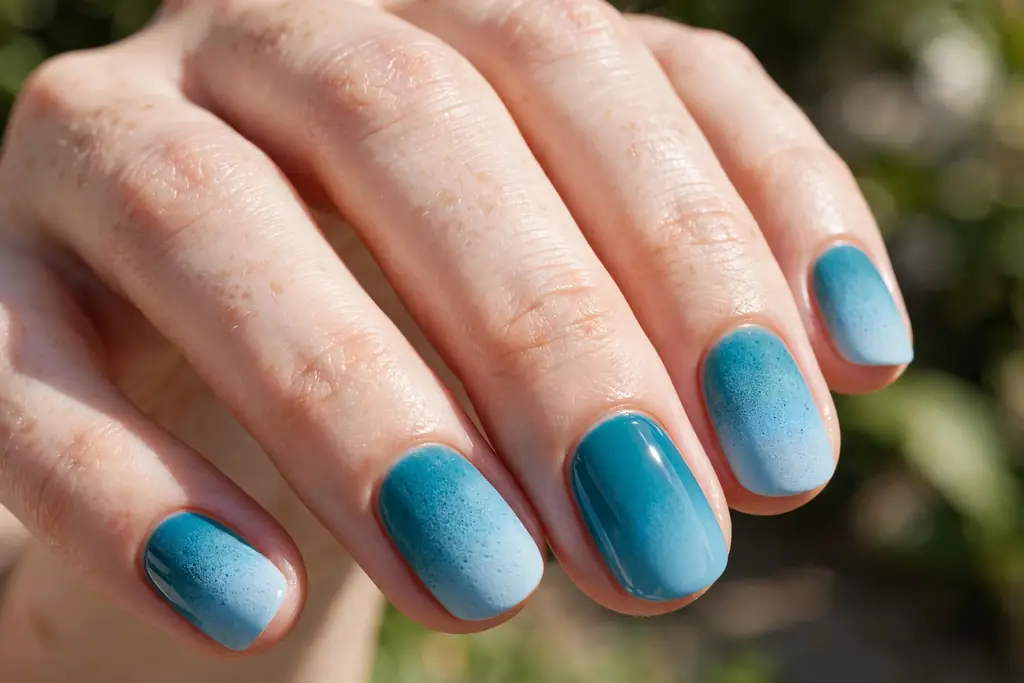
10. Classic ombre. Paint your nails white as a base. Dab two polish colors side by side onto a makeup sponge, then bounce the sponge on the nail. Repeat 2–3 times for a smooth blend.
11. Glitter ombre. Apply a solid base color. Then sponge glitter polish only on the tips, building it up in thin layers. The fade hides itself, so mistakes disappear.
Minimalist Accents
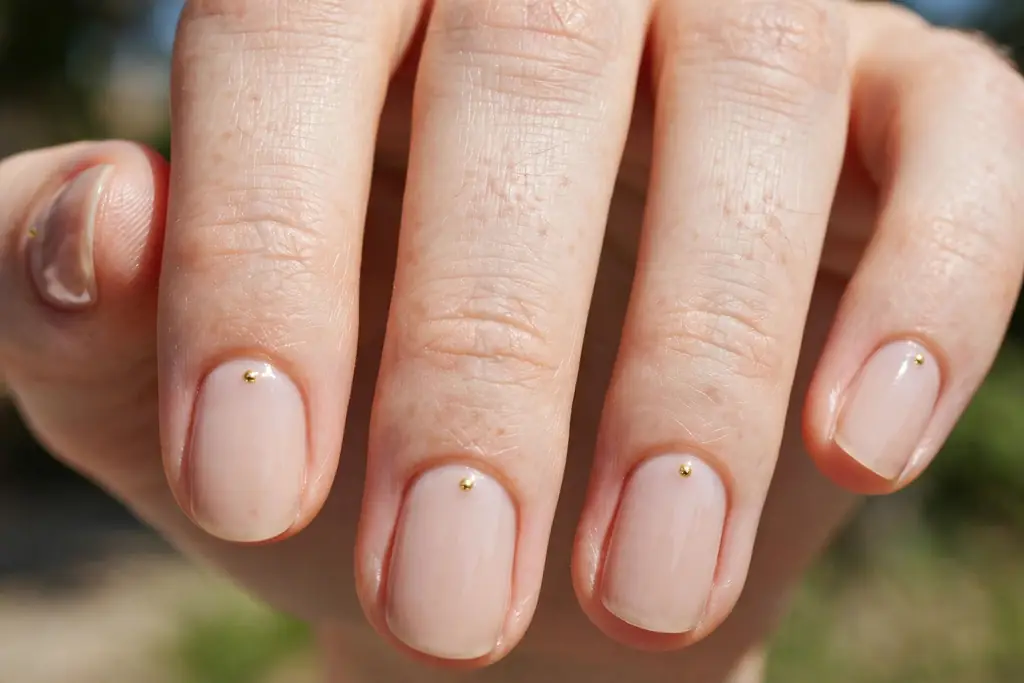
12. Single dot accent. Keep nails bare with just base and top coat, then place one tiny dot near the cuticle of each nail. Understated and elegant.
13. Tiny moon and stars. On a deep navy base, add a small gold dot as the moon and three tinier dots as stars. Celestial nails in under 20 minutes.
14. Negative space line. On a bare nail, draw one thin vertical line down the center. The untouched nail around it becomes part of the design.
Seasonal Simples
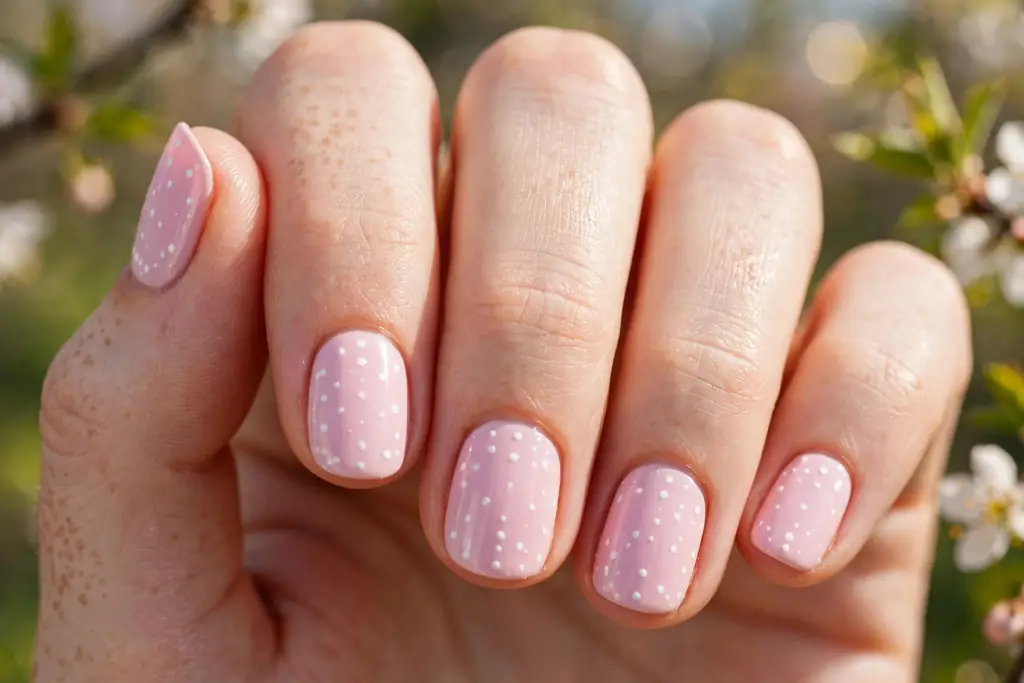
15. Pastel spring dots. Use a soft shade like baby pink nails polish as a base, then add white dots in a scattered pattern. Fresh and cheerful.
16. Patriotic stripes. Alternate red and white horizontal stripes, then add one blue accent nail with white dots. Perfect for summer holidays.
17. Winter snow dots. On a deep blue base, place white dots of different sizes to look like falling snow. Add a tiny silver rhinestone as the centerpiece on one nail.
Choosing Colors That Work Together
In fact, color choice can make or break a beginner design. The good news: a few simple rules keep you safe every time.
Start with high contrast. For example, white dots on navy, black stripes on nude, or gold on deep green — strong contrast makes simple shapes look bold and intentional. Low-contrast pairings, like light pink on white, can look washed out unless your lines are very clean.
Limit yourself to two or three colors per manicure. In fact, beginners often grab five shades and end up with a busy, muddy result. Two colors done well always beat five colors done messily.
When in doubt, anchor with a neutral. Nude, white, black, or soft gray bases let accent colors shine without clashing. Metallics like gold and silver work as neutrals too — they pair with almost everything.
Core Beginner Nail Art Techniques Step by Step
Every design above relies on four core techniques. Therefore, learn these once, and you can also mix them into endless combinations. Before touching your nails, practice each technique on a sheet of paper or a plastic nail tip — ten minutes of practice saves an hour of frustration.
Dotting
First, load the ball of your dotting tool with polish, but wipe off the excess first. Touch the tool straight down on the nail — do not drag it. Lift straight up for a clean, round dot. For larger dots, reload and stamp the same spot twice.
Striping
Dip just the tip of a thin brush in polish. Rest your pinky finger on the table to steady your hand. Pull the brush toward you in one smooth motion. If the line wobbles, wait for it to dry and paint a second line beside it — double lines look intentional.
Sponging
Paint a white base so colors stay vibrant. Apply polish stripes directly onto a damp makeup sponge. Bounce — do not drag — the sponge onto the nail. Repeat with fresh polish on the sponge until the blend looks smooth, then seal with top coat.
Stamping Basics
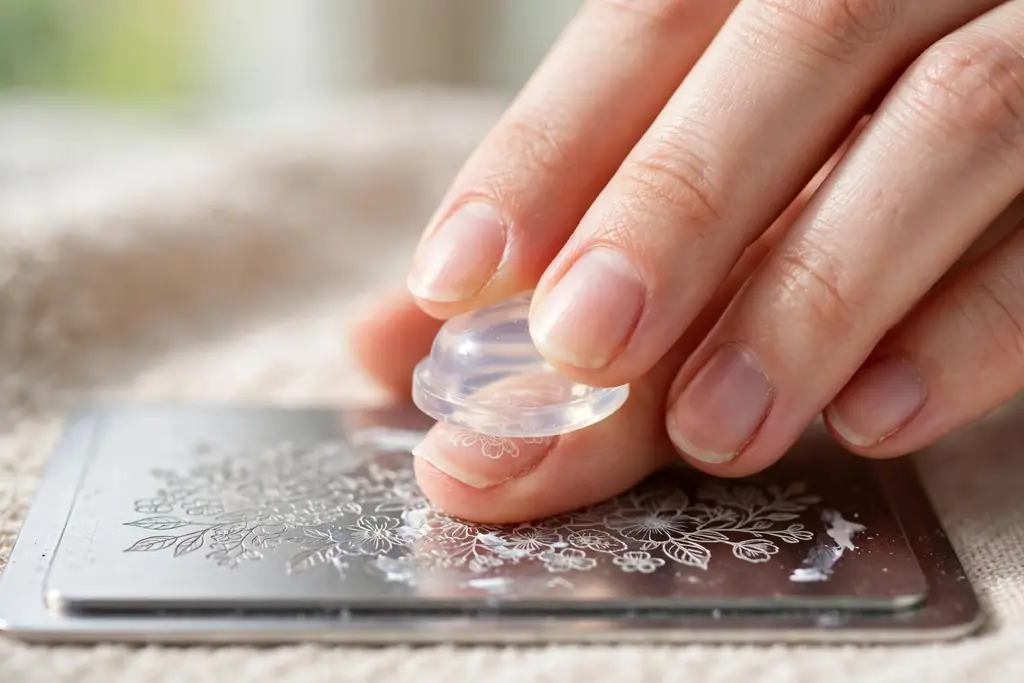
Spread stamping polish over the etched plate and scrape off the excess at a 45-degree angle. Press the stamper straight down, then roll it onto your nail in one motion. Work quickly, since stamping polish dries fast. Clean the plate with acetone between uses.
Common Beginner Mistakes and How to Fix Them
Thick coats. Thick layers bubble, smudge, and take forever to dry. The fix: apply three thin coats instead of one thick coat. Each thin layer dries in about two minutes.
Skipping base and top coat. Without them, polish stains nails and chips fast. The fix: make both coats non-negotiable, even for a quick manicure.
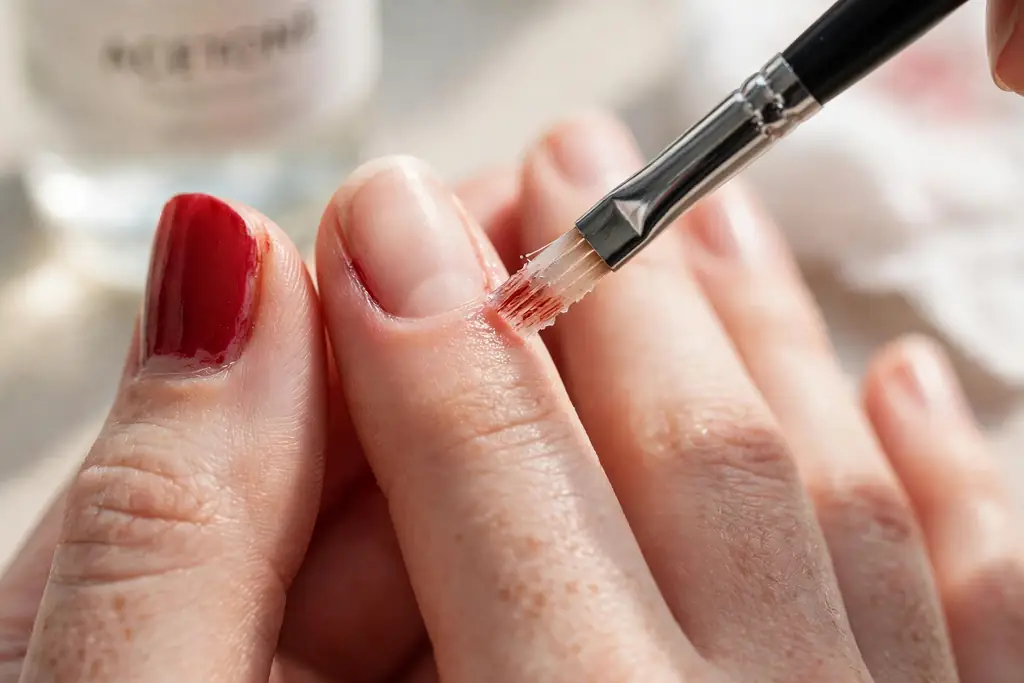
Flooding the cuticles. Polish pooled around the cuticle looks messy. The fix: leave a tiny gap at the cuticle, then clean the edges with a small brush dipped in acetone.
Not waiting between layers. Rushing drags wet polish and ruins designs. The fix: wait at least two minutes per layer. Touch the surface lightly — if it feels tacky but firm, you are good.
Shaking the bottle. Shaking creates air bubbles in the polish. The fix: roll the bottle between your palms instead. This mixes the polish smoothly.
Using old, gloopy polish. Polish that has thickened with age drags and leaves streaks. The fix: add one or two drops of nail polish thinner (not remover) and roll to mix. If it is still stringy, replace the bottle — fresh polish is worth it.
Removal and Aftercare
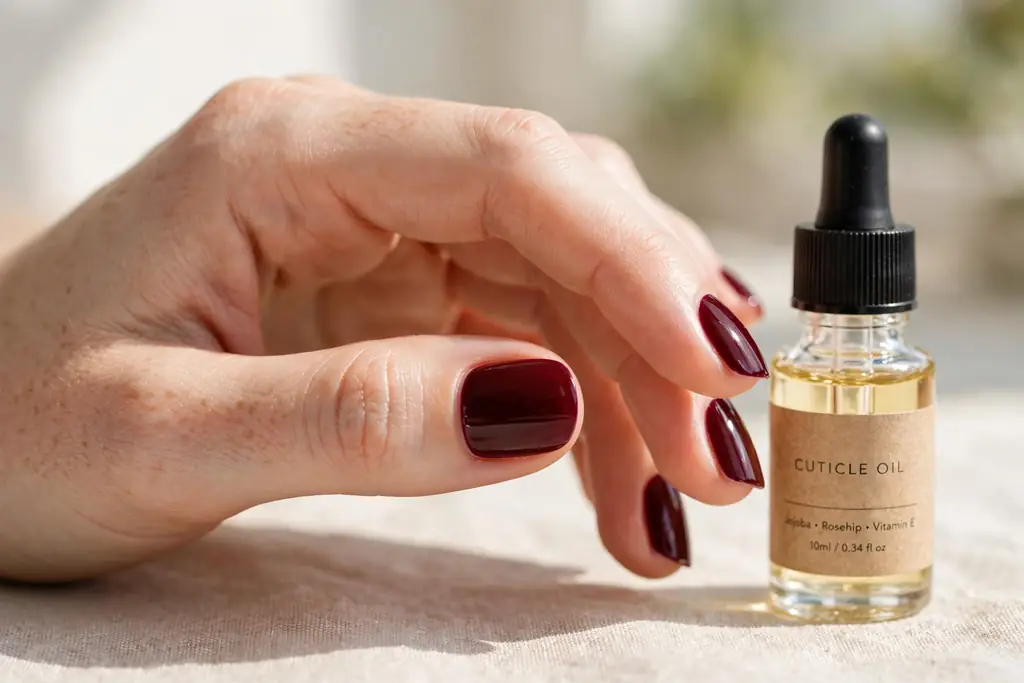
Never peel polish off — peeling tears layers from your natural nail. Instead, soak a cotton pad in remover, press it on the nail for 15 seconds, then wipe firmly toward the tip. For glitter, wrap each fingertip in foil for five minutes first.
After removal, wash your hands and massage cuticle oil into each nail. In addition, give your nails a breather of a day or two between manicures when you can. Healthy nails also hold polish better, so aftercare is part of the art.
Watch for warning signs too. If nails become very thin, develop deep ridges, or change color unexpectedly, take a longer break and let them recover. Persistent problems deserve a dermatologist’s opinion — beauty should never come at the cost of nail health.
Frequently Asked Questions
How long does beginner nail art take?
A simple design takes 20–30 minutes including drying time. More detailed looks, like gradients, may take up to 45 minutes. Speed also comes with practice.
Do I need expensive tools to start?
No. A basic dotting tool set, one thin brush, and a few polishes are enough for every design in this guide. Upgrade only after you know which techniques you enjoy.
Why does my polish bubble or smudge?
Bubbles usually come from shaking the bottle or applying thick coats. Smudges happen when layers are not dry. Use thin coats, roll the bottle, and wait two minutes between layers.
Can I do nail art on short nails?
Absolutely. Dots, stripes, and minimalist accents look fantastic on short nails. In fact, short nails are easier for beginners because there is less surface to cover.
How do I make my nail art last longer?
Prep well, cap the free edge with polish, and always finish with top coat. Reapply top coat every two to three days. Avoid using nails as tools.
Is nail art bad for my nails?
Not when done properly. Always use base coat, never peel polish off, and moisturize regularly. If nails feel weak, take a short break between manicures.
What is the easiest nail art for a complete beginner?
Polka dots. They need only a dotting tool, they dry fast, and uneven dots still look charming. Start there before moving to stripes or gradients.
How do I fix a mistake without starting over?
Wait for the mistake to dry fully, then gently scrape it off with an orangewood stick or paint over it with the base color. For smudged edges, a cleanup brush dipped in acetone works wonders.
Conclusion
You now know the tools, the prep, the techniques, and 17 designs to try. Start with one simple look — polka dots or a single stripe — and build from there. Every expert was once a beginner, and every manicure teaches you something new.
Finally, pick your favorite design from this guide and try it this weekend. Then explore the rest of Polishora for more inspiration — and learn more about us and our mission to make nail art easy for everyone.