
Baby pink nails have a rare quality: they look polished without trying too hard. This soft, barely-there shade sits somewhere between a classic nude and a playful pastel, which makes it one of the most versatile manicure choices you can wear in 2026.
Whether you are heading to a wedding, refreshing your everyday look, or trying nail art for the first time, baby pink nails adapt to the moment. The color flatters nearly every skin tone, suits both short and long nail shapes, and works beautifully with finishes that range from ultra-glossy to velvety matte.
In this guide, you will find more than 25 baby pink nail design ideas, a complete step-by-step tutorial for doing them at home, and practical care tips that keep your manicure looking fresh for weeks. Let us start with why this shade refuses to leave the spotlight.
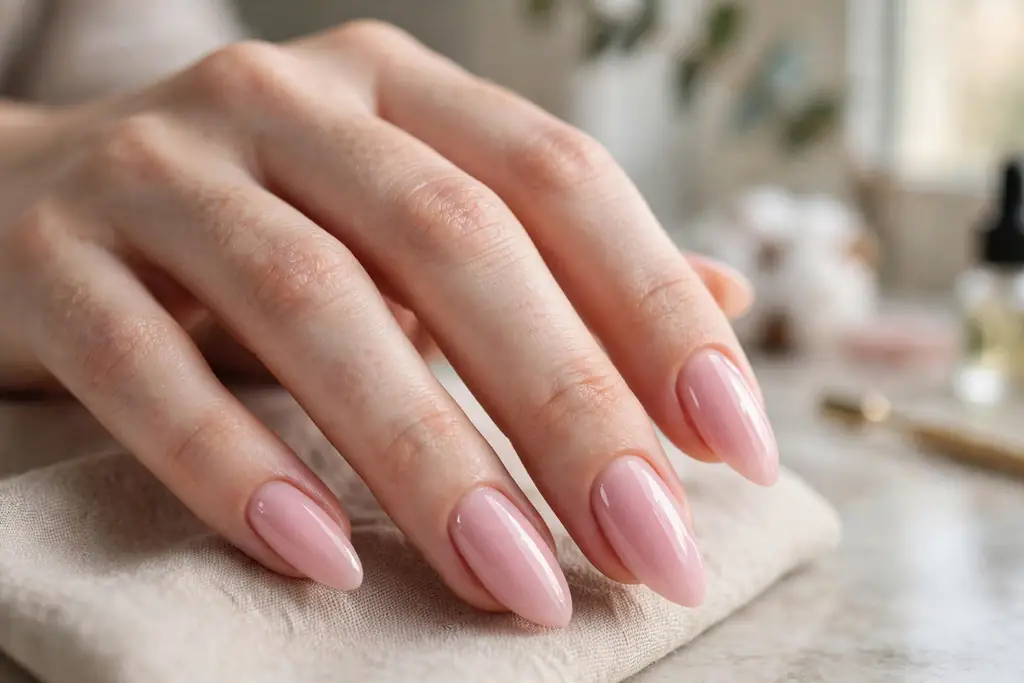
Why Baby Pink Nails Never Go Out of Style
Trends in nail art move fast. One season belongs to deep burgundy, the next to electric blue, and then everyone suddenly wants chrome. Through all of these cycles, baby pink nails remain a constant. There are a few clear reasons for this staying power.
First, baby pink is a neutral with personality. Unlike a plain beige, it adds warmth and life to your hands. Unlike a bold red, it never clashes with your outfit. As a result, it works for job interviews, weddings, vacations, and lazy Sundays alike.
Photogenic, Forgiving, and Timeless
Second, the shade photographs beautifully. Baby pink catches the light gently, which makes hands look elegant in close-ups — a real advantage now that manicures are shared online as often as they are seen in person.
Third, it is forgiving. Small chips and minor regrowth are far less noticeable on a pale pink manicure than on a dark or neon shade. For example, a tiny chip near the tip of a black nail draws the eye immediately, while the same chip on baby pink is barely visible. Therefore, this color is a smart pick if you want a manicure that still looks good a week after your appointment.
Finally, baby pink carries a timeless association with care and femininity. It suggests attention to detail without demanding attention — the quiet confidence that keeps this shade returning to runways and red carpets year after year.
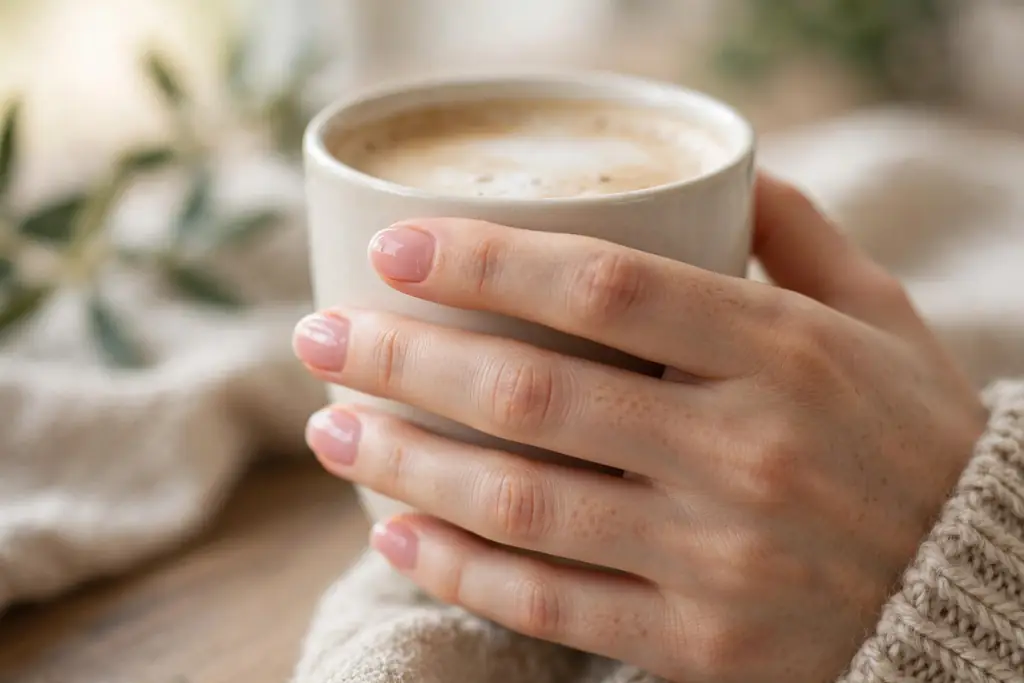
How to Choose the Perfect Baby Pink Shade for Your Skin Tone
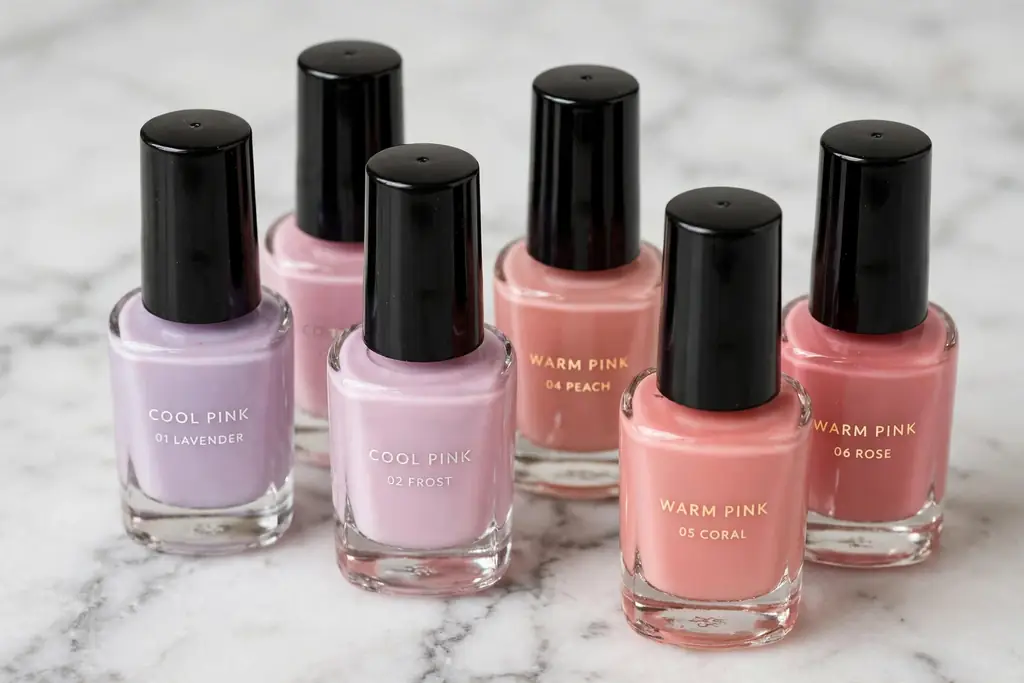
Not all baby pinks are identical. Some lean cool with a hint of lavender, while others lean warm with a touch of peach. Choosing the right undertone makes the difference between nails that brighten your hands and nails that wash them out. Here is a simple guide.
- Fair skin: Look for cool baby pinks with blue or lavender undertones. These shades prevent paleness and add a healthy flush of color. Avoid very warm, orangey pinks, which can make fair skin look sallow.
- Light to medium skin: You have the most flexibility. Both neutral and slightly warm baby pinks look natural. A classic milky pink with a hint of rose is a safe and flattering choice.
- Olive skin: Choose baby pinks with a touch of warmth or peach. Cool, blue-based pinks can clash with olive undertones, while warmer pinks create harmony.
- Deep skin: Richer baby pinks with warm, rosy undertones look stunning. Sheer or jelly formulas also work well because they let your natural nail tone show through, which creates depth.
If you are unsure, test the polish on one nail in daylight before committing, since indoor lighting can be misleading. In addition, sheer formulas are more forgiving than opaque ones, so beginners may want to start with a jelly or translucent baby pink.
25+ Baby Pink Nail Design Ideas
Now for the fun part. Below you will find design ideas grouped by style, from timeless classics to current trends. Each group includes several variations, so you can mix and match elements to create a set that feels personal. Most of these designs work on both natural nails and extensions.
Classic French Tips
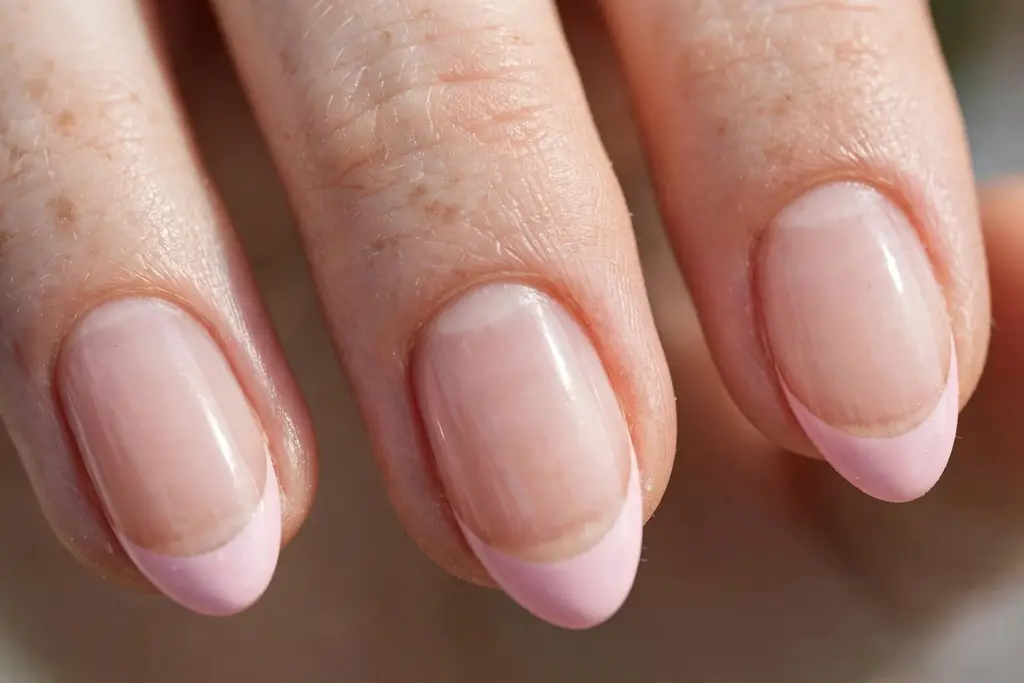
The French manicure and baby pink were made for each other. Instead of the traditional stark white tip, try these softer updates:
- Baby pink French: A sheer baby pink base with slightly deeper pink tips for a monochrome twist on the classic.
- Micro French: An ultra-thin tip line that looks modern and delicate, especially on short nails.
- Reverse French: The accent color sits along the cuticle instead of the tip, which creates an interesting and unexpected detail.
- Double French: Two thin lines — one at the tip and one just below it — for a graphic, fashion-forward effect.
French tips suit almond and oval shapes particularly well, since the curved tip echoes the smile line of the design. However, they also look clean and sharp on square nails when the tip line is kept thin.
Chrome and Glazed Finishes
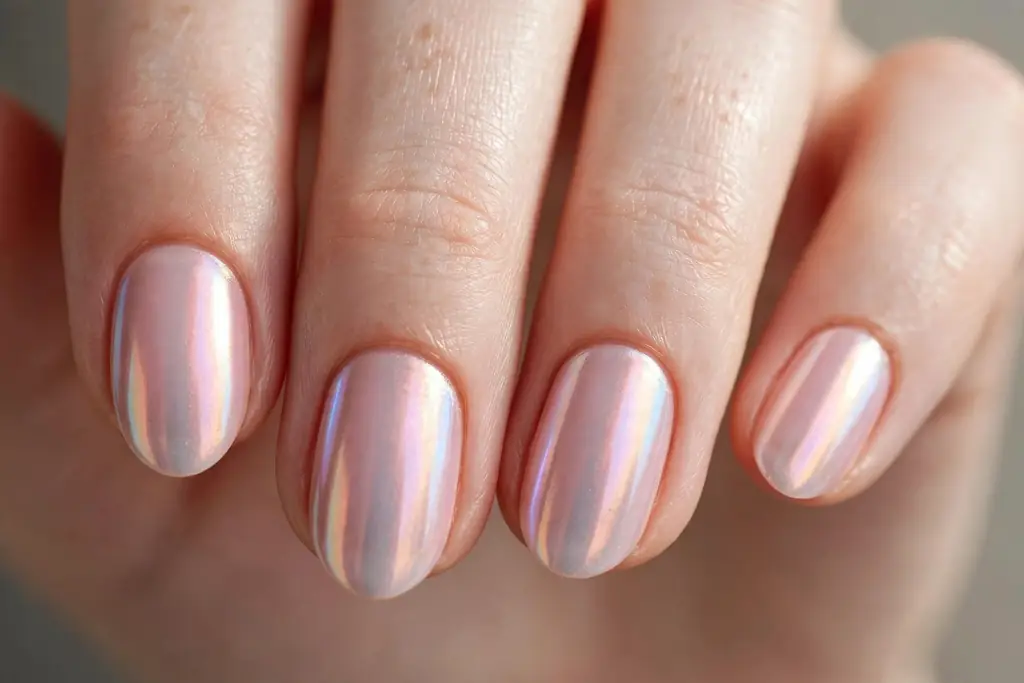
The glazed donut nail trend made pearly, reflective finishes hugely popular, and baby pink is the ideal base for them. A chrome powder rubbed over a baby pink base creates a luminous, almost lit-from-within effect.
- Pearl glaze: A white chrome powder over baby pink gives a soft, iridescent glow.
- Pink chrome: A pink chrome powder intensifies the color and adds mirror-like shine.
- Velvet finish: Magnetic “cat-eye” polish in baby pink creates a shifting, velvety dimension.
- Glazed tips only: Apply the chrome effect just to the tips over a sheer base for a subtle gradient of shine.
Chrome finishes are a favorite for special events, but they show fingerprints easily — wipe nails with a lint-free pad to keep that mirror finish crisp in photos.
Minimalist Line Art
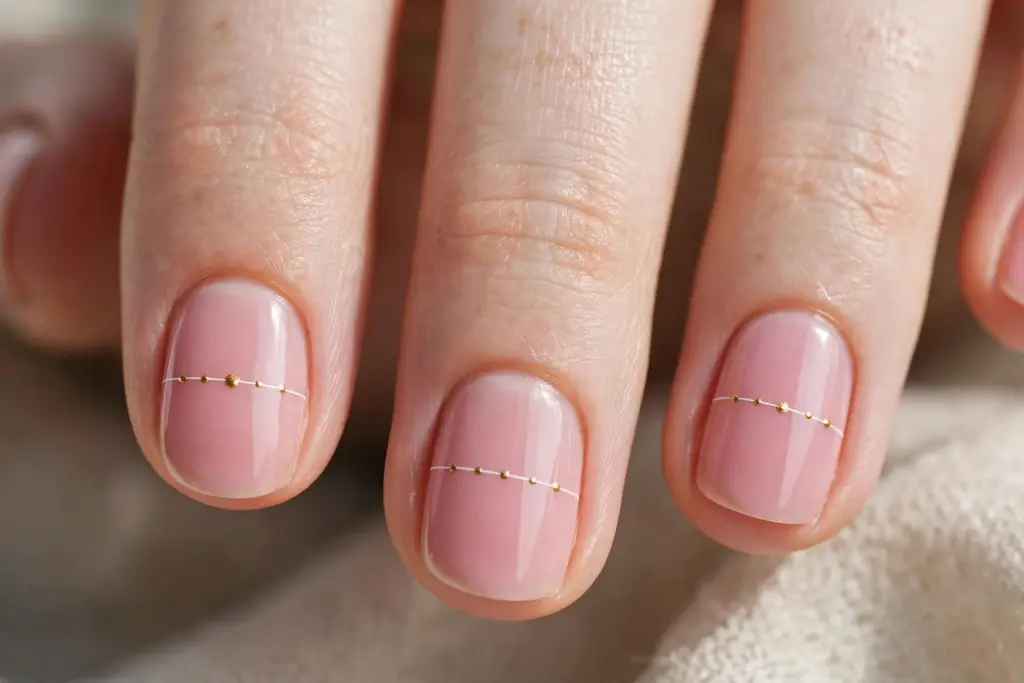
If you love beginner nail art, minimalist designs in baby pink are the perfect starting point. Simple lines and dots require only a steady hand and a thin brush, yet the results look refined and intentional.
- Single stripe: One vertical or diagonal line down the center of each nail in white or gold.
- Dot accents: A single small dot near the cuticle on each nail, or a trio of dots fading in size.
- Half-moon: A clean curved line separating the base from the tip, filled in with a deeper pink or left negative.
- Abstract swirls: One freehand wavy line per nail in a contrasting shade for an artistic, modern feel.
The key to minimalist art is restraint. Choose one motif and repeat it across all ten nails rather than combining several ideas. This consistency is what makes simple designs look expensive.
Floral Accents
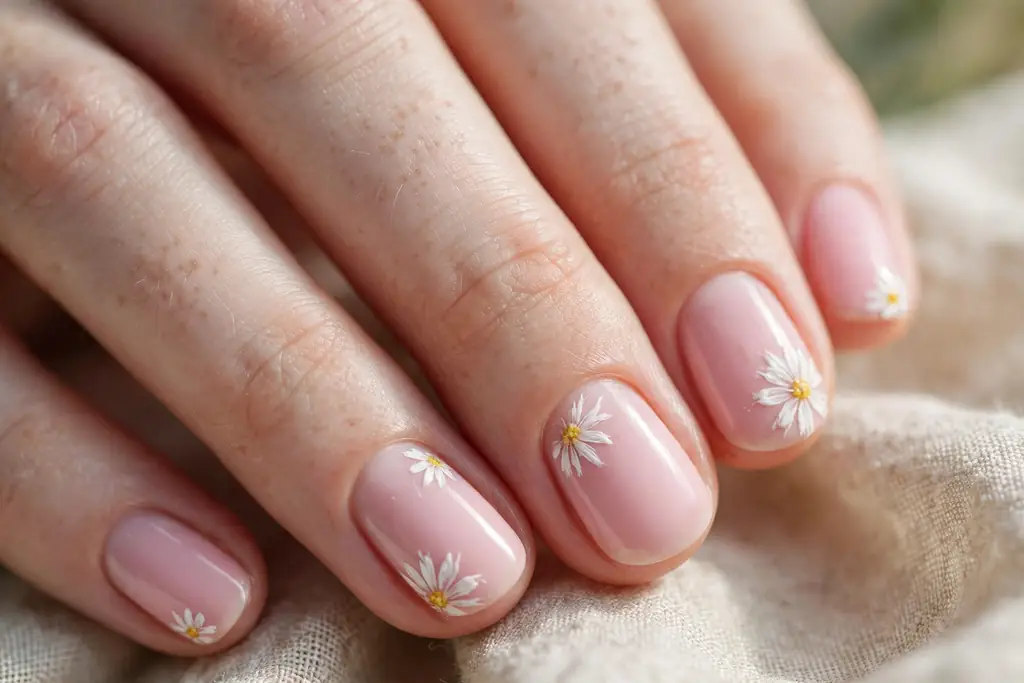
Tiny flowers are a natural match for baby pink. They add romance without overwhelming the softness of the base color, and they work for spring weddings just as well as for everyday wear.
- Daisy details: Small white daisies with yellow centers scattered over a baby pink base.
- Single stem: One delicate floral sprig on the ring finger while the other nails stay plain.
- Pressed-flower effect: Layer sheer pink over tiny dried-flower decals for a botanical, dimensional look.
- Cherry blossom branches: Thin brown branches with pink blossoms painted across two or three accent nails.
For the neatest flowers, use a dotting tool: five small dots in a circle form the petals, with a contrasting dot in the center. Practice on paper first if you are new to freehand work.
Glitter and Ombre Effects
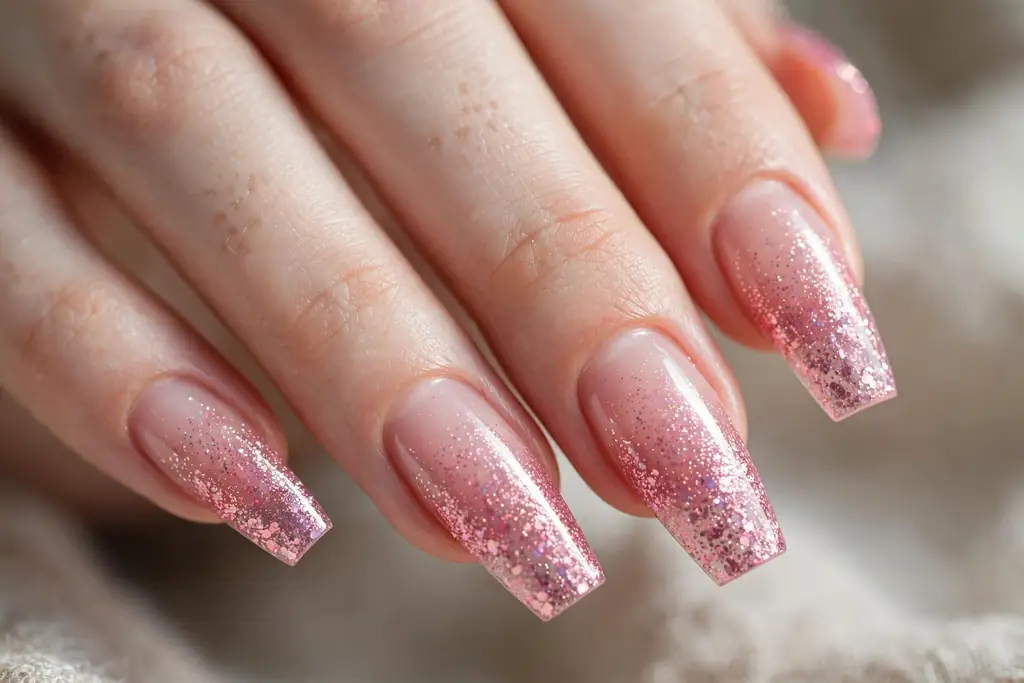
When you want baby pink with extra dimension, glitter and ombre techniques add depth while keeping the overall look soft and wearable.
- Glitter fade: Fine pink glitter concentrated at the tips and fading toward the cuticle.
- Full glitter accent: One or two nails in fine baby pink glitter while the rest stay solid.
- Baby pink ombre: A gradient from sheer nude at the cuticle to baby pink at the tip, or from white to pink.
- Sugar effect: A textured glitter topcoat over the entire nail for a frosted, dimensional finish.
Ombre looks are easiest with a makeup sponge. Apply the two colors side by side on the sponge, dab gently onto the nail until the gradient looks smooth, then clean the edges with a small brush dipped in remover.
Short and Practical Sets
Baby pink truly shines on short nails. The pale color elongates the fingers visually, which means even very short nails look elegant and well-groomed.
- Sheer wash: One or two coats of jelly baby pink for a “your nails but better” effect.
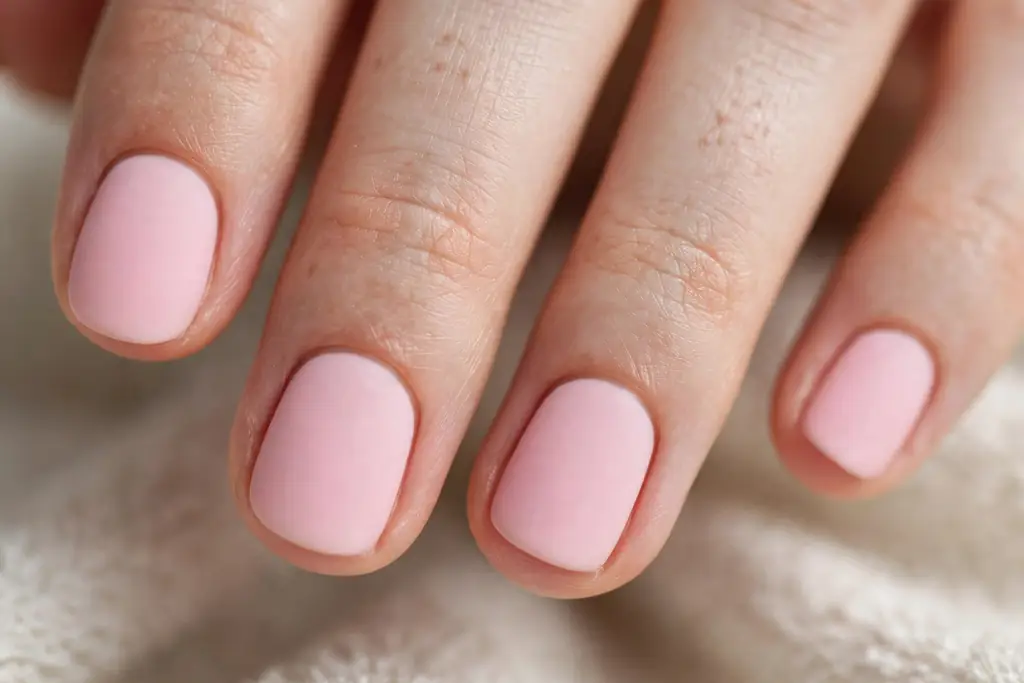
- Matte short set: A matte topcoat over baby pink gives short nails a modern, velvety look.
- Tip detailing: Micro French or a thin metallic tip line adds interest without overwhelming a small nail bed.
- Negative space: Leave part of the nail bare with baby pink geometric shapes for a contemporary feel.
Short nails are also the most practical choice for typing, sports, and hands-on work — a short rounded baby pink set fits an active routine instead of fighting it.
Step-by-Step: Baby Pink Manicure at Home
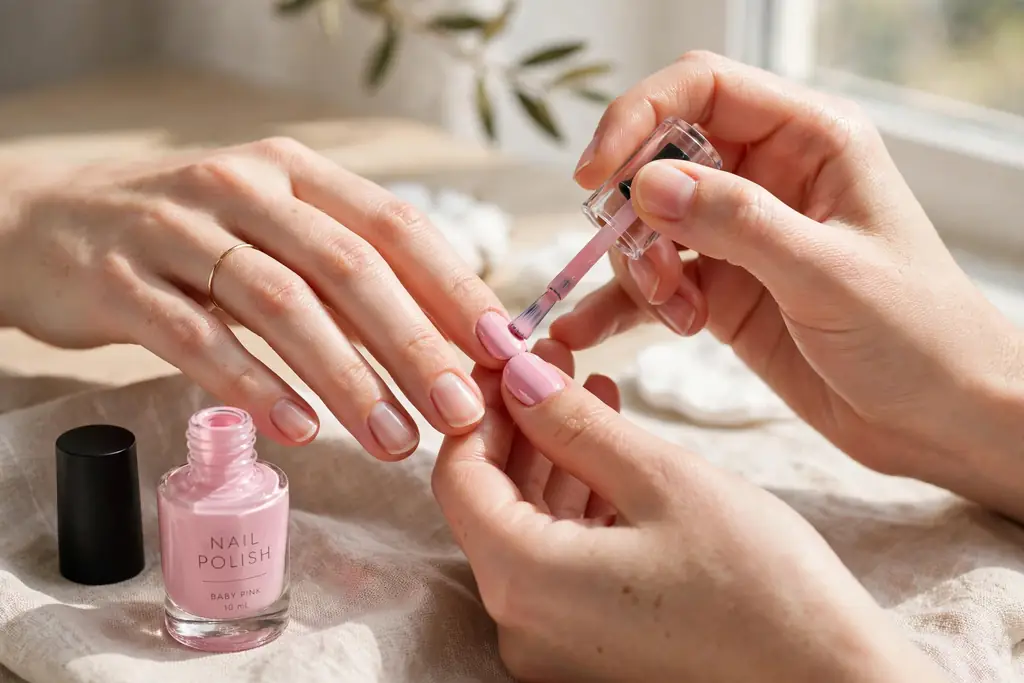
You do not need a salon appointment for a beautiful baby pink manicure. With the right preparation and a little patience, you can achieve a smooth, professional-looking result at home in about 45 minutes.
What you will need: nail polish remover, cotton pads, nail clippers, a nail file, a cuticle pusher, cuticle oil, a base coat, baby pink polish, a top coat, and a small cleanup brush.
- Remove old polish completely. Soak a cotton pad in remover, press it onto each nail for a few seconds, then wipe toward the tip. Any leftover color will show through pale pink polish.
- Shape your nails. Clip to your desired length first, then file in one direction to smooth the edges. For baby pink, almond and oval shapes are classic choices, but any neat shape works.
- Care for your cuticles. Soak your fingertips in warm water for two minutes to soften the skin. Gently push back the cuticles with a pusher — never cut them, since that can lead to infection and ragged regrowth.
- Clean and dehydrate the nail plate. Wipe each nail with remover or alcohol to remove oils. Polish adheres much better to a clean, dry surface, which directly affects how long your manicure lasts.
Applying Polish and Finishing
- Apply a base coat. One thin layer of base coat protects your natural nails from staining and gives the color something to grip. Let it dry for two minutes.
- Apply the baby pink in thin layers. Paint two to three thin coats rather than one thick coat. Thin layers dry faster, level out more smoothly, and resist bubbling. Wait two minutes between coats.
- Add your design (optional). If you are adding French tips, line art, or decals, do it now while the color is fully dry to the touch but the top coat is not yet applied.
- Seal with a top coat. Finish with a generous layer of top coat, wrapping it slightly over the free edge of each nail. This step adds shine and significantly extends wear time.
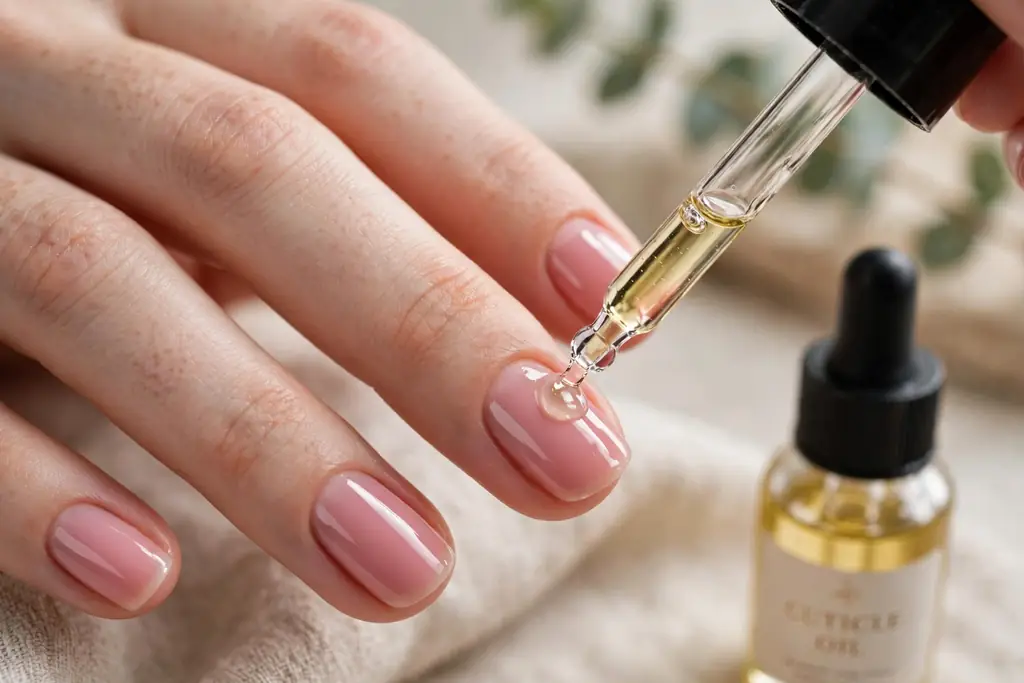
Afterward, apply cuticle oil around each nail and let everything dry for at least 15 minutes before using your hands normally. For extra protection, avoid hot water for the first few hours, since heat can soften fresh polish.
Best Nail Shapes for Baby Pink
Baby pink suits every popular shape, but each one gives the shade a slightly different character. Here is how to match the shape to the look you want.
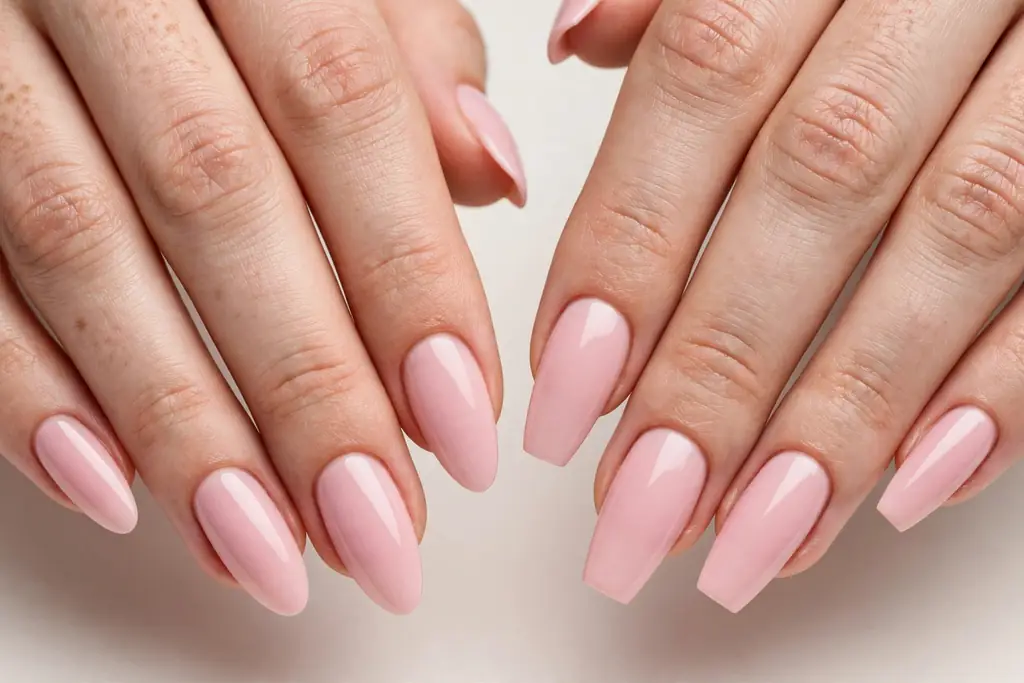
- Almond: The most flattering pairing. The tapered shape elongates the fingers, and baby pink enhances that elegant effect. Ideal for medium to long nails.
- Oval: Soft and natural, oval is the everyday-friendly version of almond. It suits shorter lengths and looks effortlessly neat in baby pink.
- Coffin (ballerina): Bold and dramatic, coffin nails turn baby pink into a statement. This shape is most often built with acrylic nails or gel extensions because it needs length and structure.
- Square: Clean and modern. A soft or “squoval” edge keeps the look feminine, while a sharp square edge feels more editorial.
- Short round: The practical classic. Baby pink on short round nails looks tidy and professional, which makes it perfect for workplaces with strict dress codes.
If you are growing out your nails, oval is the easiest shape to maintain during the awkward in-between stage. File the sides gently and keep the free edge smooth, and the shape will refine itself as length increases.
How to Make Baby Pink Nails Last Longer
Pale polishes can show wear sooner than dark ones if the prep work is skipped. Fortunately, a few simple habits make a big difference in longevity.
- Never skip the base coat. It prevents staining and gives color polish a grippy surface. This single step can add several days to your manicure.
- Wrap the tips. Run the brush lightly along the free edge of each nail with both color and top coat. Sealing the edge is where chips usually start.
- Reapply top coat every two to three days. A fresh layer of top coat refreshes shine and reinforces the seal at the tips.
- Wear gloves for chores. Hot water and detergents are the fastest way to lift polish. Gloves take ten seconds to put on and save your manicure.
- Moisturize daily. Cuticle oil and hand cream keep the skin around your nails flexible, which prevents hangnails and lifting at the cuticle line.
- Do not use nails as tools. Opening cans, scraping stickers, and prying things with your nails causes chips and breaks regardless of the polish used.
It also helps to follow basic nail hygiene between manicures. Dermatologists recommend keeping nails clean and dry, trimming them regularly, and leaving cuticles alone rather than cutting them — you can read the full list of dermatologists’ tips for healthy nails on the American Academy of Dermatology website. For more routine guidance, browse our nail care guides as well.
Frequently Asked Questions
Do baby pink nails suit everyone?
Yes, in most cases. The key is choosing the right undertone for your skin, as described in the shade guide above. Cool baby pinks flatter fair skin, warm peachy pinks suit olive and deep skin tones, and neutral milky pinks work across the board. When in doubt, a sheer jelly formula is the most forgiving option.
Are baby pink nails appropriate for the office?
Absolutely. Baby pink is one of the most workplace-friendly colors because it looks groomed without drawing excessive attention, and many professional dress codes that restrict bold colors explicitly allow soft pinks.
How long does a baby pink manicure usually last?
With proper prep, regular polish typically lasts five to seven days, while gel baby pink manicures last two to three weeks. Reapplying top coat every few days and wearing gloves for household chores will push any manicure toward the longer end of that range.
Trying Baby Pink Nails Yourself
Can I do baby pink nail art if I am a complete beginner?
Yes. Start with the simplest designs: a sheer wash of color, a single dot accent, or a thin stripe. These techniques need no special skill beyond a steady hand. As your confidence grows, you can try French tips and freehand flowers.
What is the difference between baby pink and nude nails?
Nude polishes aim to match your skin tone and disappear, while baby pink is deliberately a soft pink that stands slightly apart from the skin. Baby pink reads as a color choice rather than a neutral, which gives it more personality while staying subtle.
Do I need gel polish for baby pink nails?
No. Regular polish works beautifully and is easier to remove. Gel is worth considering if you want two or more weeks of wear or are preparing for an event like a wedding where you cannot afford chips.
Conclusion
Baby pink nails earn their place by being effortlessly adaptable. They suit every skin tone, flatter every nail shape, and move easily from the office to a wedding to a weekend at home. With the design ideas, shade guidance, and tutorial in this guide, you have everything you need to create a flawless baby pink manicure yourself.
Pick one design that caught your eye, gather your tools, and give it a try. To learn more about our approach to nail care and styling, visit our about us page — a fresh baby pink set might just become your new signature look.