
Acrylic nails have been a salon favorite for decades, and in 2026 they are more popular than ever. They offer length, strength, and endless design options that natural nails often cannot achieve on their own. However, getting the best results takes the right technique, the right products, and proper care.
This complete guide walks you through everything you need to know about acrylic nails. You will learn how they work, how they compare to gel and dip powder, and which tools to buy for at-home application. In addition, you will find a detailed step-by-step application tutorial, more than 20 design ideas, and honest advice on maintenance, safe removal, and aftercare.
Whether you are visiting a salon for the first time or trying a DIY set at home, this guide will help you get beautiful results while keeping your natural nails healthy. For more inspiration, explore our nail care guides.
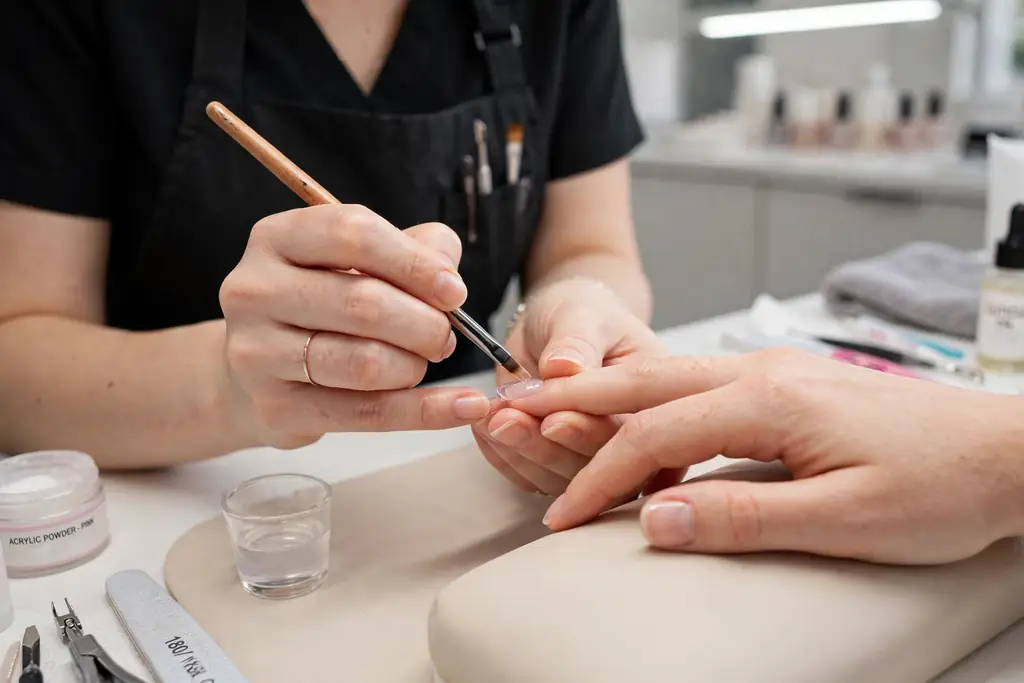
What Are Acrylic Nails and How Do They Work
Acrylic nails are artificial nail enhancements made by combining a liquid monomer with a powder polymer. When mixed, these two ingredients form a soft bead that subsequently hardens within minutes when exposed to air. A nail technician sculpts this bead over your natural nail or over a glued-on tip to create length and shape.
As a result, a hard, durable layer protects your natural nail underneath. Unlike regular polish, acrylics do not chip easily and can last two to three weeks before they need maintenance. They also hold nail art, glitter, and 3D decorations far better than natural nails.
Acrylics are different from press-on nails because they are custom-sculpted directly onto your nail. Therefore, they fit your nail bed perfectly and look more natural. They are also stronger than most other enhancement types, which makes them ideal for long shapes like coffin or stiletto.
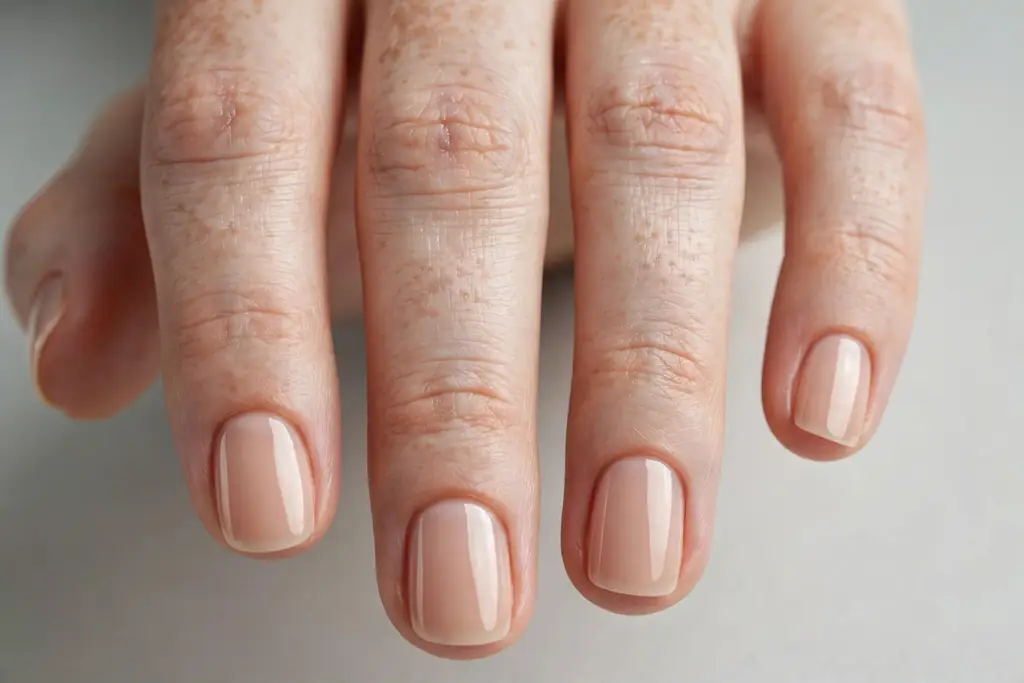
Acrylic Nails vs Gel vs Dip Powder
Choosing between acrylic, gel, and dip powder can feel confusing. Each system has strengths, so the best choice depends on your lifestyle, budget, and nail goals. Here is a simple comparison to help you decide.
Acrylic nails are the strongest option and the most affordable at most salons. They air-dry without a lamp, and they are easy to extend to dramatic lengths. However, they have a stronger chemical smell during application, and the finish can look slightly thicker than gel.
Gel nails (hard gel or builder gel) cure under a UV or LED lamp and feel lighter and more flexible on the nail. They give a glossy, natural-looking finish with less odor. On the other hand, they usually cost more, and very long extensions are harder to build with gel alone.
Dip powder nails use colored powder dipped over an adhesive base. They are odor-free and beginner-friendly, and they last about three weeks. However, dip systems add less length than acrylics, and sanitation can be a concern when many clients dip into the same jar.
- Best for long, dramatic shapes: acrylic nails
- Best natural glossy look: gel nails
- Easiest DIY option: dip powder
- Longest wear: acrylic and gel (2-3 weeks with fills)
- Lowest odor: dip powder and gel
Therefore, if you love bold lengths and creative nail art, acrylics are usually the best fit. If you prefer a thinner, more natural feel, gel may suit you better.
Tools and Products for Acrylic Nails
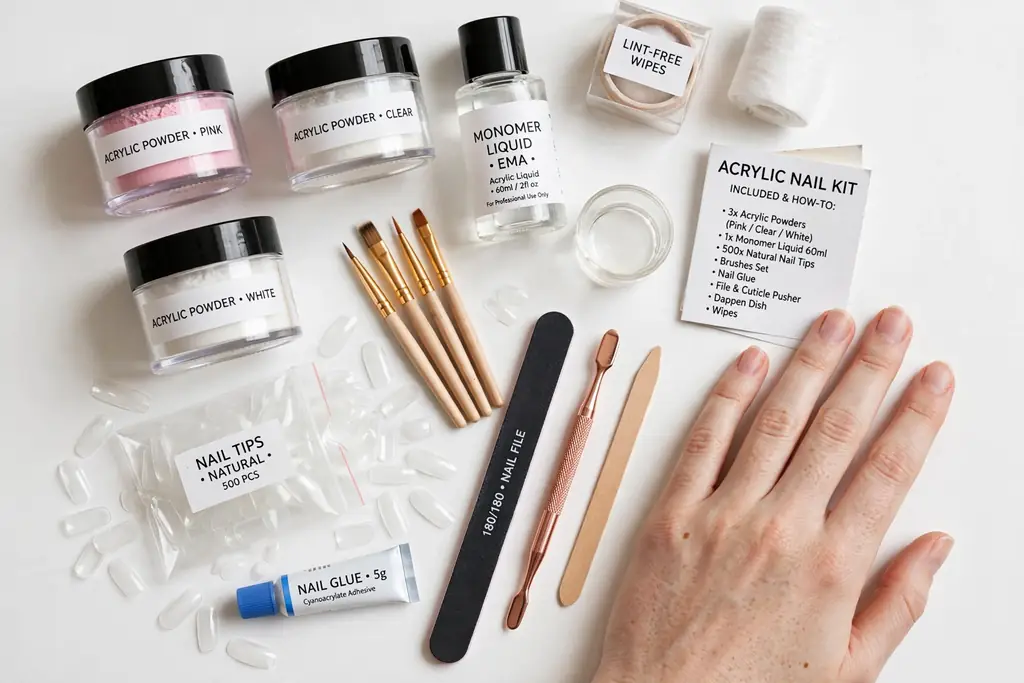
Good results start with the right supplies. Whether you visit a salon or work at home, these are the essentials for a clean acrylic application. For example, a quality brush makes bead pickup far easier for beginners.
- Acrylic liquid (monomer) – the liquid that activates the powder
- Acrylic powder (polymer) – available in clear, nude, pink, white, and colors
- Acrylic brush – a size 8 or 10 oval brush works well for beginners
- Nail tips or nail forms – tips glue on; forms sculpt free-edge extensions
- Nail tip glue – for attaching tips securely
- Nail file (100/180 grit) and buffer block – for shaping and smoothing
- Cuticle pusher and nippers – for neat prep work
- Dehydrator and primer – these help the acrylic bond and prevent lifting
- Dappen dish – a small glass dish that holds the monomer
- Lint-free wipes – for cleaning the brush between beads
- Top coat – for shine and extra protection
Work in a well-ventilated room because monomer has a strong smell. In addition, keep paper towels nearby since acrylic sets fast and can stick to surfaces.
Step-by-Step Acrylic Nail Application
Follow these steps carefully for a smooth, salon-quality set. Take your time, especially with bead placement, because rushing causes lumps and lifting.
- Prep the natural nail. Push back the cuticles gently, then lightly buff the nail surface to remove shine. After that, wipe each nail with dehydrator.
- Apply primer. Brush a thin layer of nail primer onto each nail and let it dry completely. Primer improves adhesion and reduces lifting.
- Attach tips or forms. Glue on nail tips that match the width of each natural nail, then trim and shape them. Alternatively, fit a nail form snugly under the free edge for sculpted extensions.
- Pour the monomer. Fill your dappen dish about halfway with acrylic liquid. Dip your brush in and wipe one side on the dish edge to remove excess.
- Pick up your first bead. Touch the tip of the brush into the powder to form a small, smooth bead. It should look like a tiny wet pearl, not dry or runny.
Sculpting, Curing, and Finishing
- Place the bead near the cuticle. Set the bead about 2 millimeters away from the cuticle area, not touching the skin. Then gently press and stroke it toward the free edge.
- Build the structure. Add a second, smaller bead at the stress area (the middle of the nail) for strength. Use the body of the brush to smooth and shape the product evenly.
- Let it cure. Allow the acrylic to harden for two to three minutes. It should feel firm and make a light clicking sound when tapped.
- File and shape. Use a 100/180 grit file to refine the shape, smooth the surface, and thin the cuticle area. Then buff the entire nail until smooth.
- Finish. Wipe away dust, apply your chosen polish or leave the acrylic bare, and seal everything with top coat. Finally, massage cuticle oil around each nail.
If you are new to sculpting, our beginner nail art guide covers simple designs you can try on your fresh set. Practice on one hand first before doing a full set on both hands.
20+ Acrylic Nail Design Ideas
Acrylics are a perfect canvas for nail art because the surface is smooth, strong, and long-lasting. Below are more than 20 ideas grouped by style. Pick a group that matches your mood, or mix elements from several.
Classic French Tips
French tips never go out of style, and acrylics make the smile line crisp and even. Try these twists on the classic look:
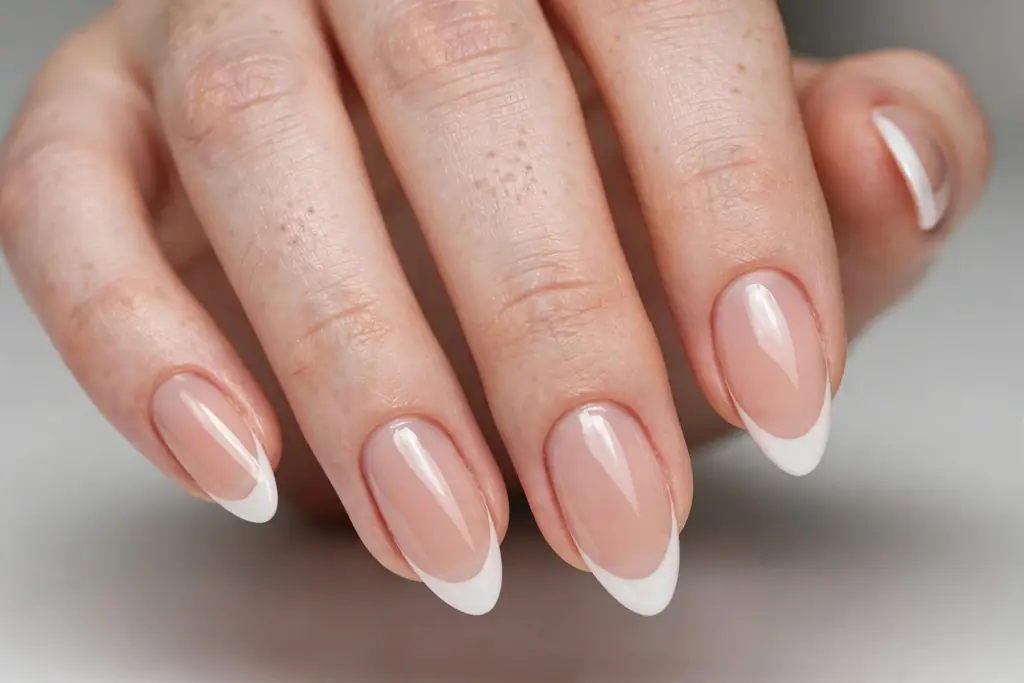
- Classic white French – the timeless pink-and-white combination
- Colored French tips – swap white for black, red, or neon shades
- Double French – add a thin second line above the main tip
- Glitter French fade – blend glitter from the tip downward for sparkle
Ombre and Gradient Looks
Ombre acrylics blend two or more colors seamlessly. They hide regrowth well, so they are practical as well as pretty.
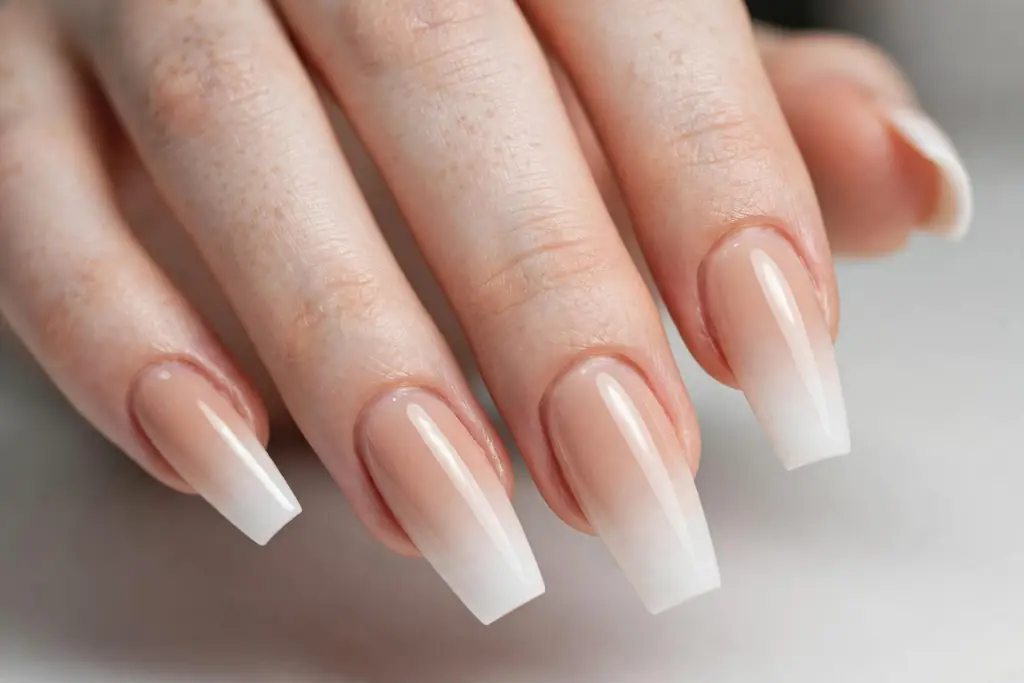
- Baby boomer ombre – the soft pink-to-white fade everyone loves
- Nude-to-brown ombre – a warm, elegant everyday option
- Pastel rainbow ombre – a different pastel shade on each nail
- Glitter ombre – chunky glitter fading into a solid base
Coffin and Ballerina Shapes
Long coffin (also called ballerina) nails are the signature acrylic shape. They give you maximum space for art and look striking in bold colors.
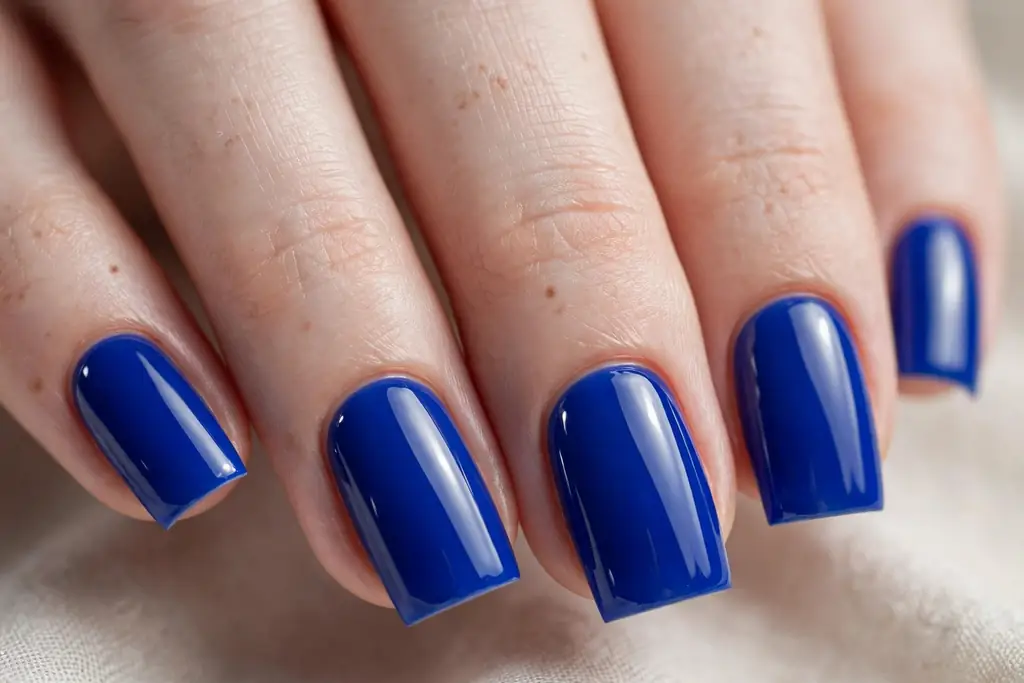
- Matte black coffin – edgy and dramatic with a velvet finish
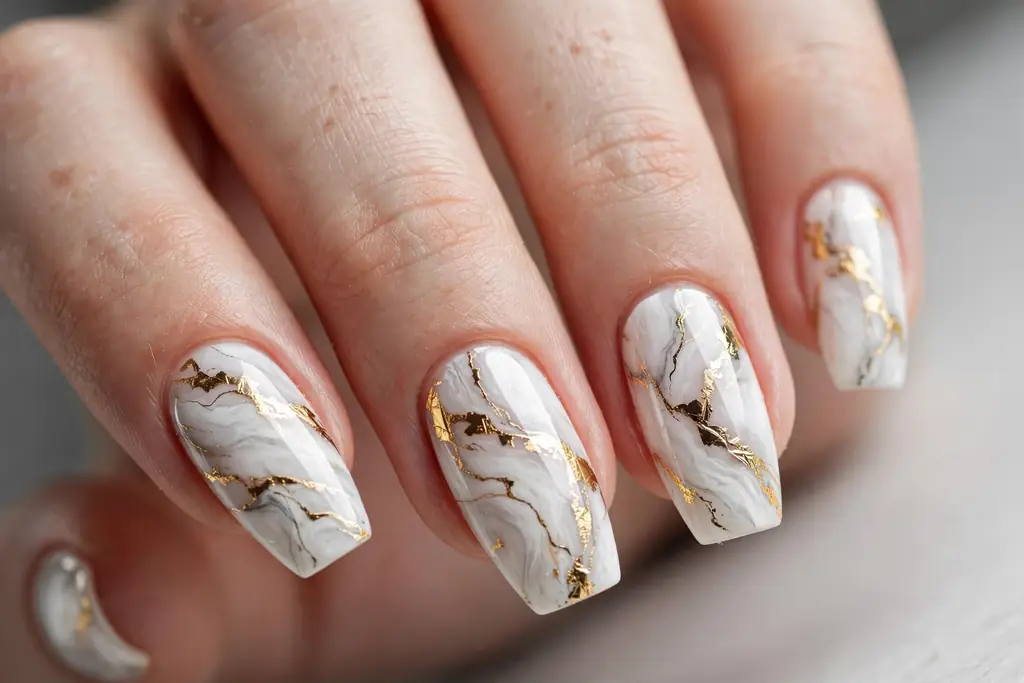
- Marble coffin nails – white marble with gold veining (see below)
- Neon coffin set – bright summer shades that stand out
- Chrome coffin nails – mirror-like metallic powder finish
Almond and Natural Styles
Almond shapes elongate the fingers and suit both short and medium lengths. For inspiration in soft shades, see our baby pink nails ideas.
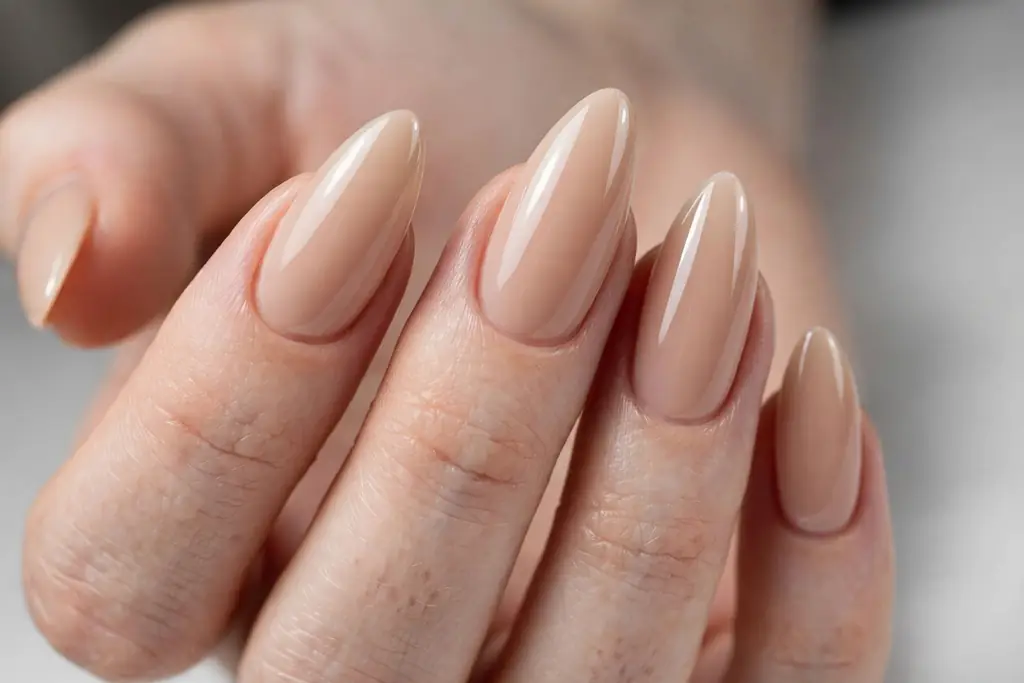
- Nude almond acrylics – polished and office-friendly
- Milky white almond – clean, fresh, and modern
- Short natural overlay – acrylic over your own nail length for strength
- Sheer pink jelly nails – translucent color with a glassy look
Seasonal and Festive Designs
Change your set with the seasons. Acrylics last long enough to enjoy holiday art for the full festive period.
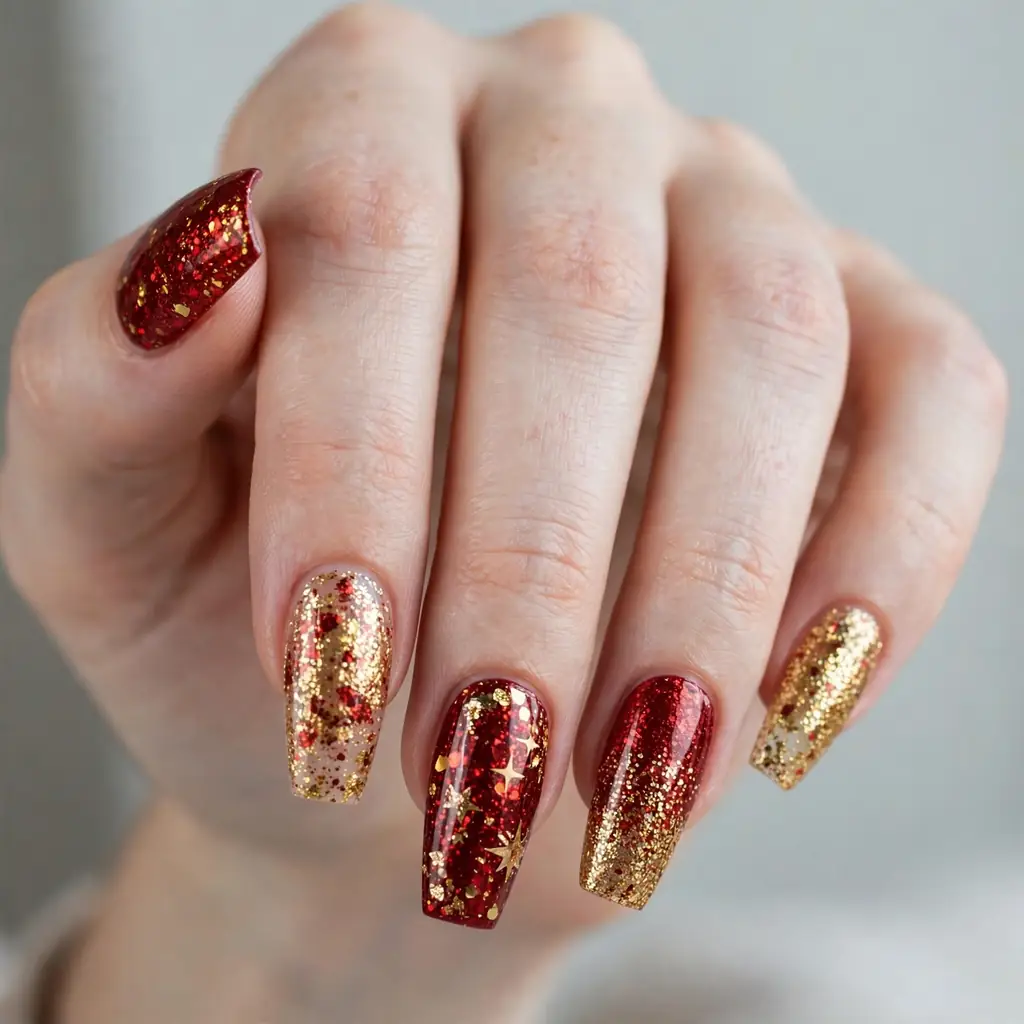
- Winter snowflakes – deep blue or burgundy with white snowflake art
- Autumn tortoiseshell – warm amber swirls, very trendy in fall
- Spring florals – tiny hand-painted daisies on a nude base
- Summer brights – coral, turquoise, and sunshine yellow
- Halloween accents – black and orange with spiderweb details
How to Maintain Acrylic Nails and When to Get Fills
Acrylic nails need regular upkeep to stay beautiful and healthy. As your natural nails grow, a gap appears near the cuticle. Therefore, you should book a fill every two to three weeks.
During a fill appointment, the technician files down the lifted product, fills the regrowth area with fresh acrylic, and rebalances the shape. This process takes less time than a full set and costs less. However, after three to four fills, most technicians recommend a fresh full set for the best structure.
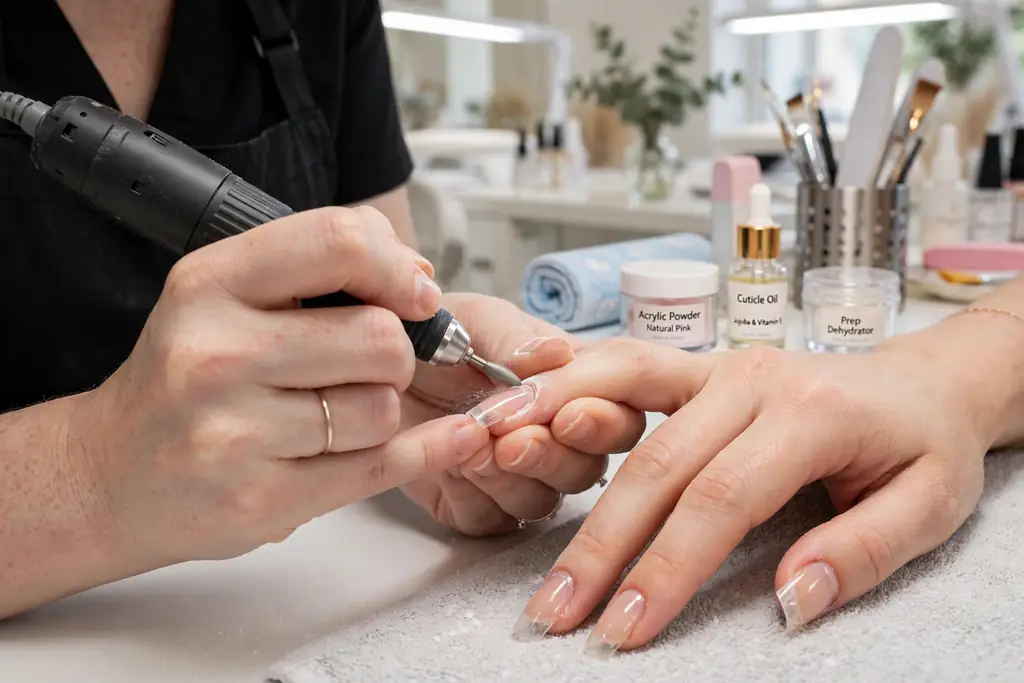
Between appointments, follow these daily habits to protect your set:
- Wear gloves when cleaning or washing dishes to avoid water damage
- Apply cuticle oil every evening to keep the surrounding skin soft
- Do not use your nails as tools for opening cans or scratching labels
- Fix lifting immediately – a lifted edge traps moisture and can cause fungal issues
- Keep nails at a practical length if you type or do manual work all day
If a nail cracks or breaks, do not pull it off. Instead, file the rough edge smooth and visit your technician for a repair. Quick action prevents damage to the natural nail underneath.
How to Remove Acrylic Nails Safely at Home
Never pry, peel, or bite acrylics off. Forcible removal tears layers off your natural nail and causes thinning, splitting, and pain. The safe method takes patience but protects your nails.
- Trim the length. Cut the acrylics down as short as possible with nail clippers.
- File the top layer. Use a coarse file to remove the shiny top coat and thin the acrylic. This step helps the acetone work faster.
- Soak in acetone. Soak cotton balls in pure acetone, place one on each nail, and wrap the fingertip tightly in aluminum foil. Wait 20 to 30 minutes.
- Gently push off. Remove the foil and use a wooden cuticle stick to gently push the softened acrylic away. If it resists, rewrap and soak for 10 more minutes.
- Buff lightly. Once the product is gone, buff the nail surface gently to smooth any residue. Do not over-buff or you will thin the nail plate.
- Wash and moisturize. Wash your hands with soap and water, then apply cuticle oil and hand cream right away.
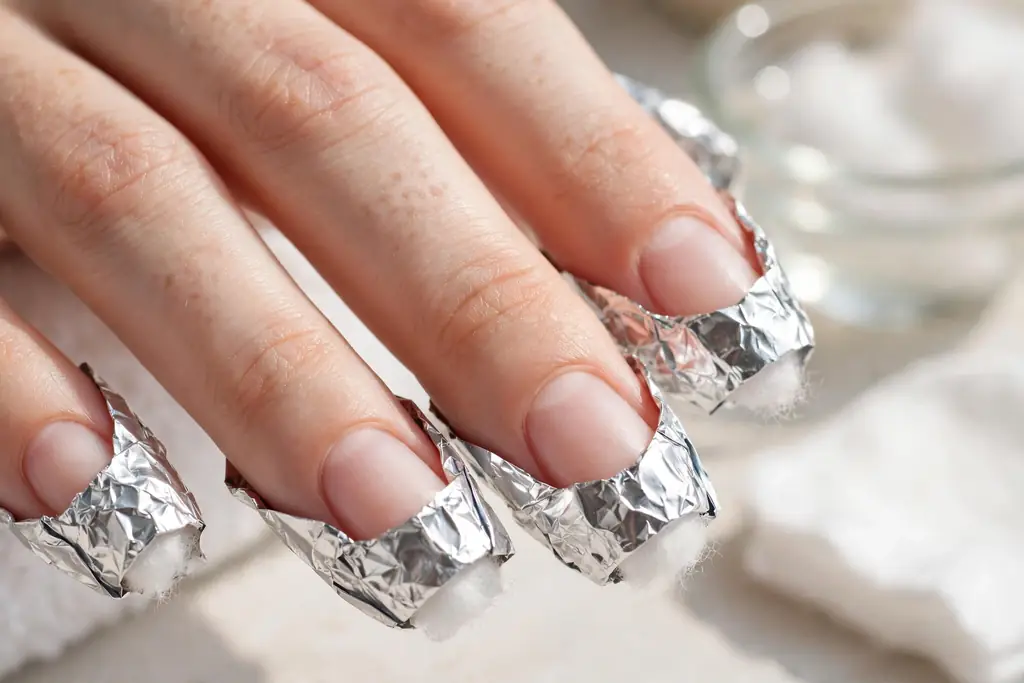
If you feel pain at any point, stop and visit a professional salon. A technician can remove stubborn sets with an electric file without harming your nails.
Aftercare for Acrylic Nails: Restoring Your Natural Nails
After wearing acrylics, your natural nails may feel thin or dry. This is normal and temporary. With the right aftercare routine, they will recover their strength within a few weeks.
Start by keeping your nails short for a while so they do not bend or snag. Apply cuticle oil twice a day and use a rich hand cream after every wash. In addition, consider a nail strengthener with keratin for extra support during the recovery period.
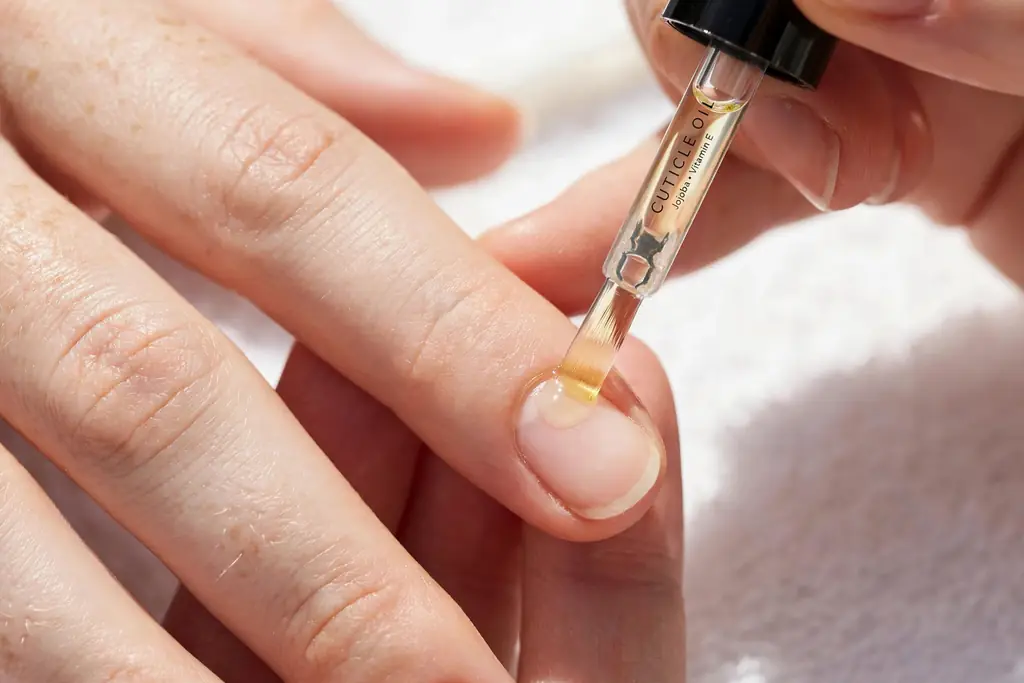
Take a break of two to four weeks between acrylic sets when you can. This rest period lets your nails rehydrate and harden naturally. The American Academy of Dermatology also advises against wearing artificial nails continuously and recommends giving natural nails regular breaks.
Eat a balanced diet with enough protein, since nails are made of keratin. If your nails stay brittle for months, speak to a dermatologist to rule out underlying issues.
Common Mistakes Beginners Make
Most acrylic problems come from a few avoidable errors. Watch out for these when you are learning:
- Skipping nail prep. Without proper dehydration and primer, acrylic lifts within days.
- Placing product on the skin. Acrylic touching the cuticle or sidewalls causes lifting and irritation. Keep a small gap around the edges.
- Using beads that are too wet or dry. A runny bead floods the cuticle, while a dry bead will not smooth out. Aim for a firm, satin-like bead.
- Over-filing the natural nail. Aggressive filing thins the nail plate and causes pain. File the product, not the natural nail.
- Ignoring lifting. A lifted corner lets water in, which can lead to green discoloration or fungal infection. Repair lifts promptly.
- Removing acrylics by force. Picking or peeling tears the natural nail. Always soak off with acetone instead.
Frequently Asked Questions
How long do acrylic nails last?
A full set lasts two to three weeks before you need a fill. With regular fills every two to three weeks, you can wear acrylics for several months. Most people get a fresh set after three to four fills.
Do acrylic nails damage your natural nails?
Acrylics themselves do not ruin nails. Damage usually comes from poor application, over-filing, or ripping them off. When applied and removed correctly, with breaks in between, natural nails stay healthy.
Can I do acrylic nails at home as a beginner?
Yes, but expect a learning curve. Start with a basic kit, watch tutorials, and practice bead placement on a nail trainer or one hand first. Your first sets will not look salon-perfect, and that is completely normal.
How much do acrylic nails cost at a salon?
Prices vary by location, but a basic full set usually costs between $35 and $60. Fills cost $20 to $40. Complex nail art, long lengths, and premium salons charge more.
Are acrylic nails better than gel nails?
Neither is universally better. Acrylics win for strength, length, and affordability. Gels win for a natural look, lighter feel, and less odor. Choose based on the style you want and how your nails respond.
Can you fill acrylic nails with gel polish on top?
Yes. Many people wear gel polish over acrylic extensions for extra shine and color options. The gel polish cures under a lamp as usual, and removal follows the normal acrylic soak-off process.
Conclusion
Acrylic nails remain one of the most versatile ways to get long, strong, beautiful nails. Now you know how they work, how they compare to other systems, and how to apply, maintain, and remove them safely. You also have more than 20 design ideas to try on your next set.
The key to great acrylics is simple: prep carefully, maintain regularly, and never force them off. Treat your natural nails kindly between sets, and they will support beautiful enhancements for years.
Ready for more ideas? Browse our design collections and guides, and learn more about us and our mission to make nail care simple for everyone.